At the WWDC 2025 opening keynote, Apple unveiled its latest macOS version, macOS Tahoe, to be released publicly in September 2025.
If you want to explore macOS Tahoe without disrupting your current system, installing it on a separate APFS volume is the best choice. This will allow you to run the new macOS alongside your existing version without any risk to your data.
This method lets you easily switch between macOS Tahoe and another macOS version such as Sequoia, Sonoma, Ventura, Monterey, or Big Sur.
In this guide, we’ll walk you through the steps required to set up a dual-boot system with two different macOS versions on your Mac.
Step 1: Create a New APFS Volume
APFS disks don’t require reformatting. Instead, you can simply add a new volume to an existing container on the disk and install a different macOS version on it. Here’s how to set that up:
Open Disk Utility by going to Applications > Utilities.
In the toolbar, click on “View” and select “Show All Devices.”
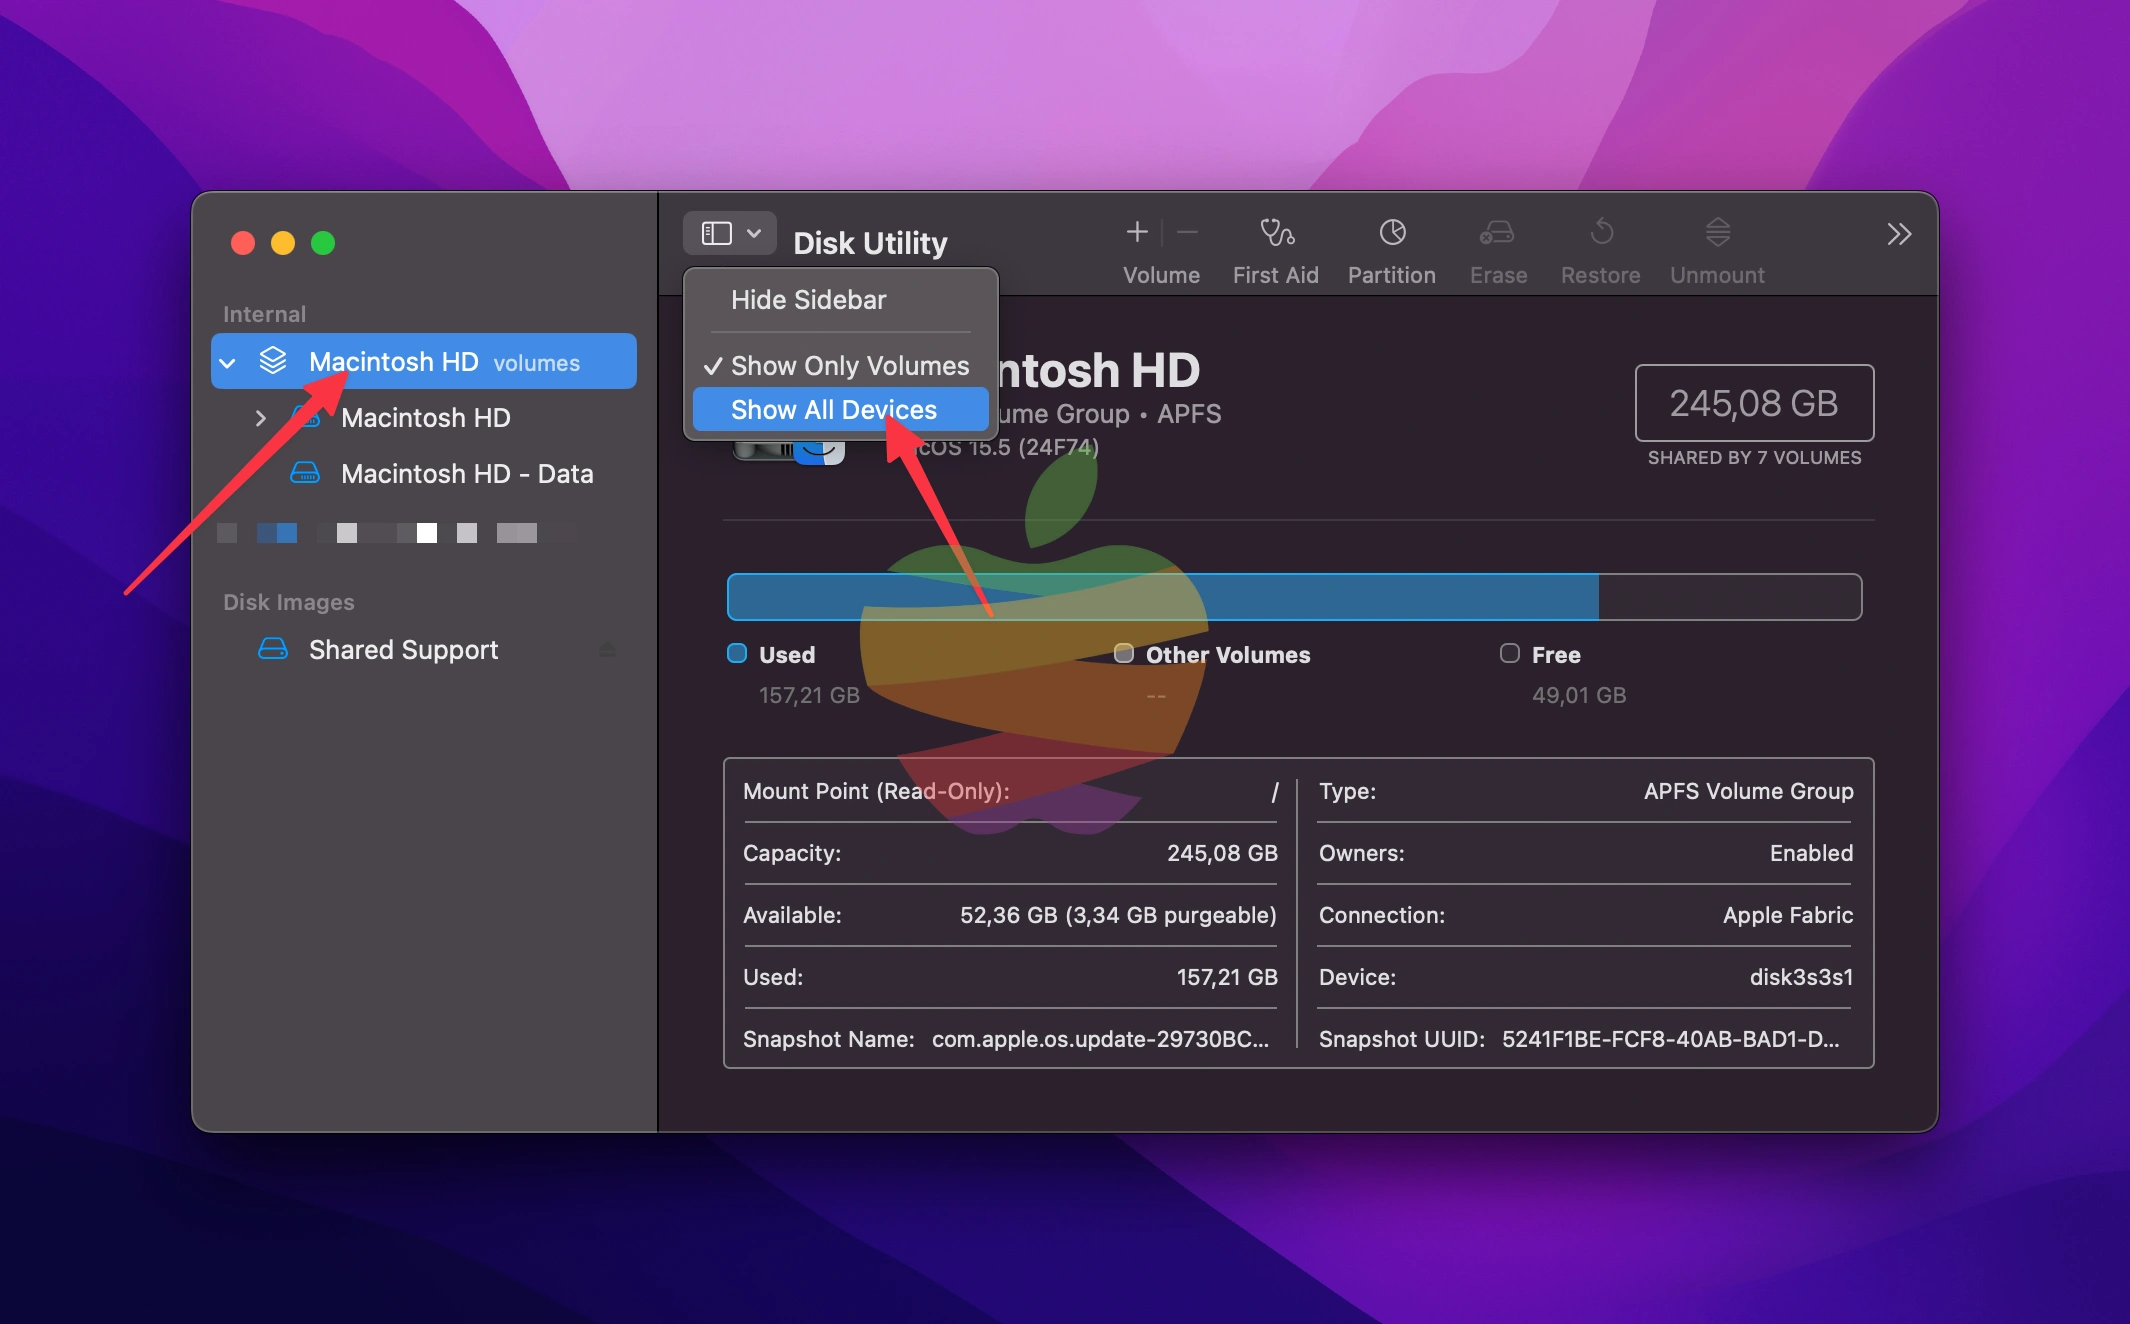
In the sidebar, you’ll see a list of disks, containers, and volumes, starting with your Apple SSD. Select “Container Disk…” and in the toolbar, click the “+” button above the volume list.
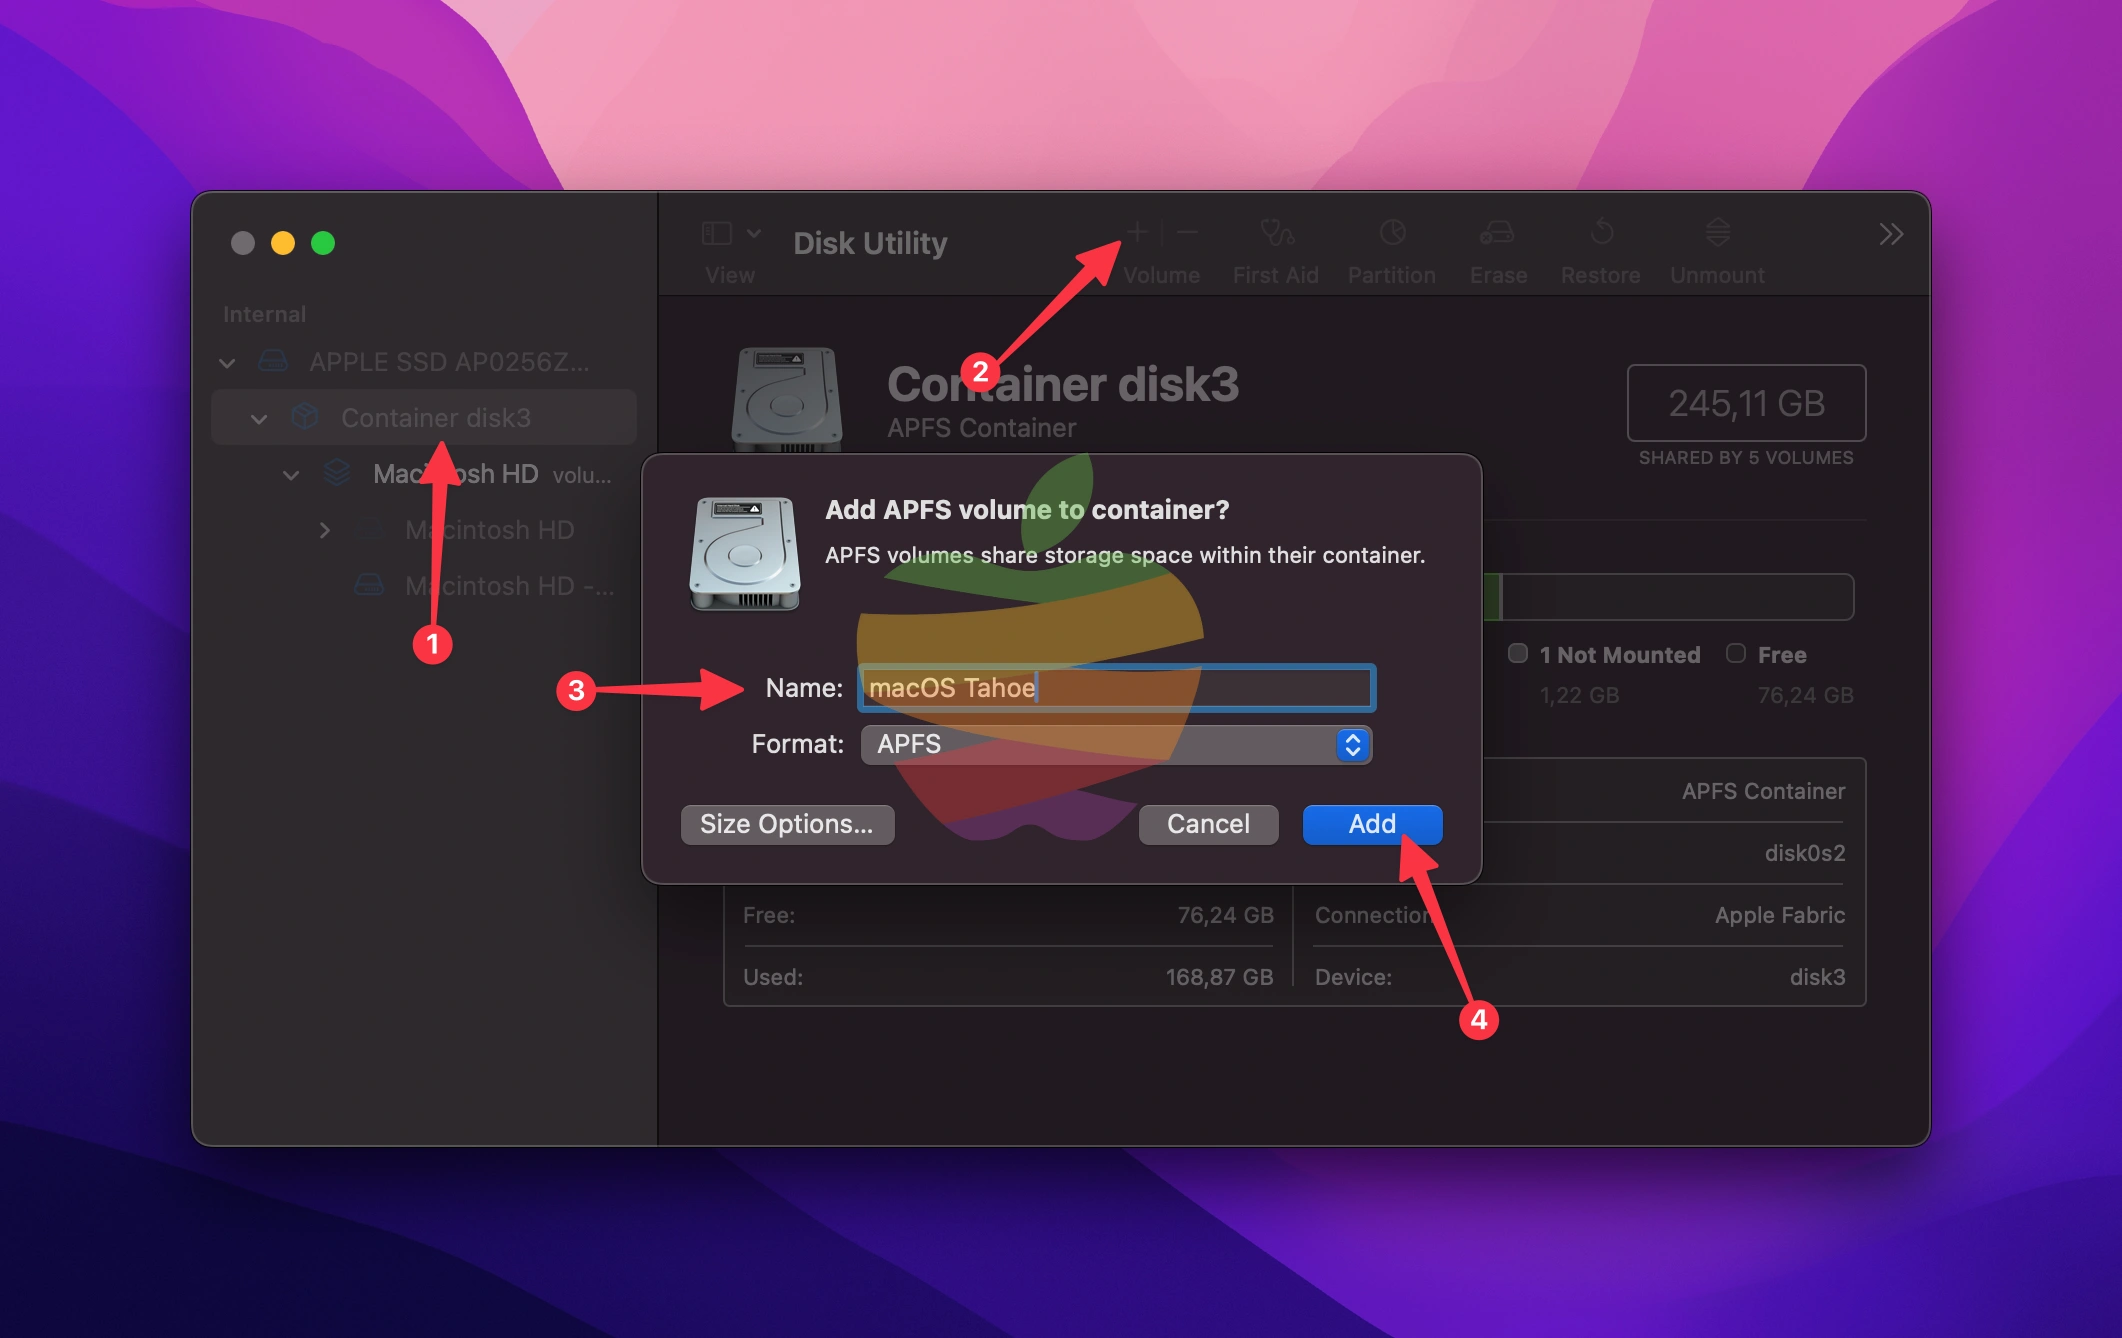
Name the new volume, keep the format as APFS, and click “Add” (you can set a size if needed by clicking the Size Option…)
Disk Utility will create the new volume, and when you run the installer for the other macOS version, you can select this volume for the installation.
Note: Ensure you’re using macOS High Sierra or later for compatibility with APFS. Older versions of macOS do not support APFS.
Step 2: Download the macOS Tahoe Installer
You’ll need to download the macOS Tahoe installer to install macOS Tahoe. You can only now download the macOS Tahoe Developer Beta by clicking the link below or seeing a detailed post here.
| macOS Tahoe Beta | Version | Build | App | Available | Date |
|---|---|---|---|---|---|
| InstallAssistant.pkg | 26 | 25A5279m | Beta 1 | YES | 6/9 |
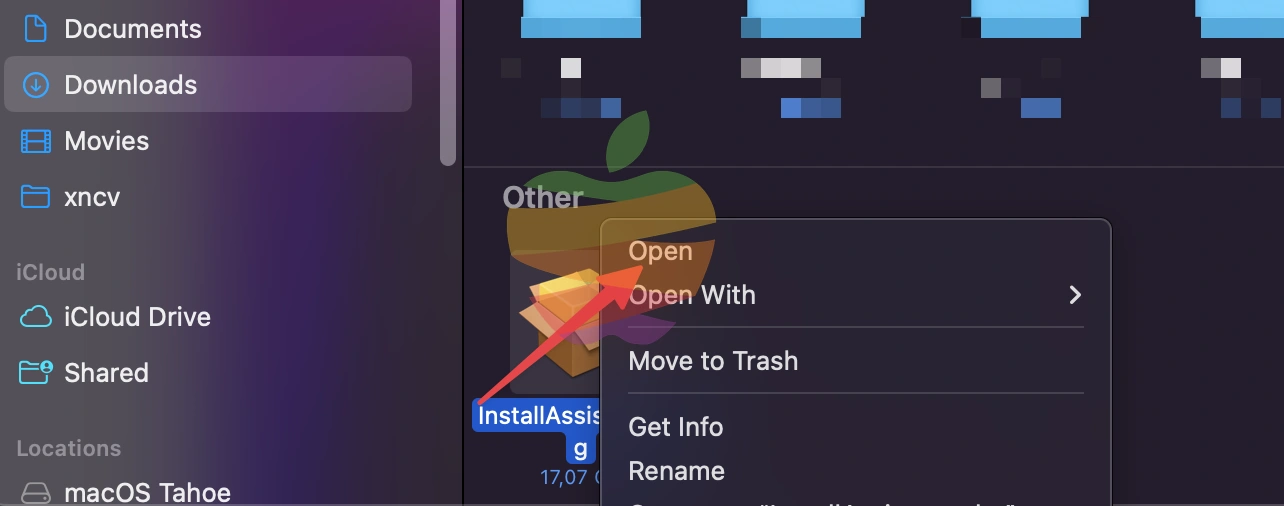
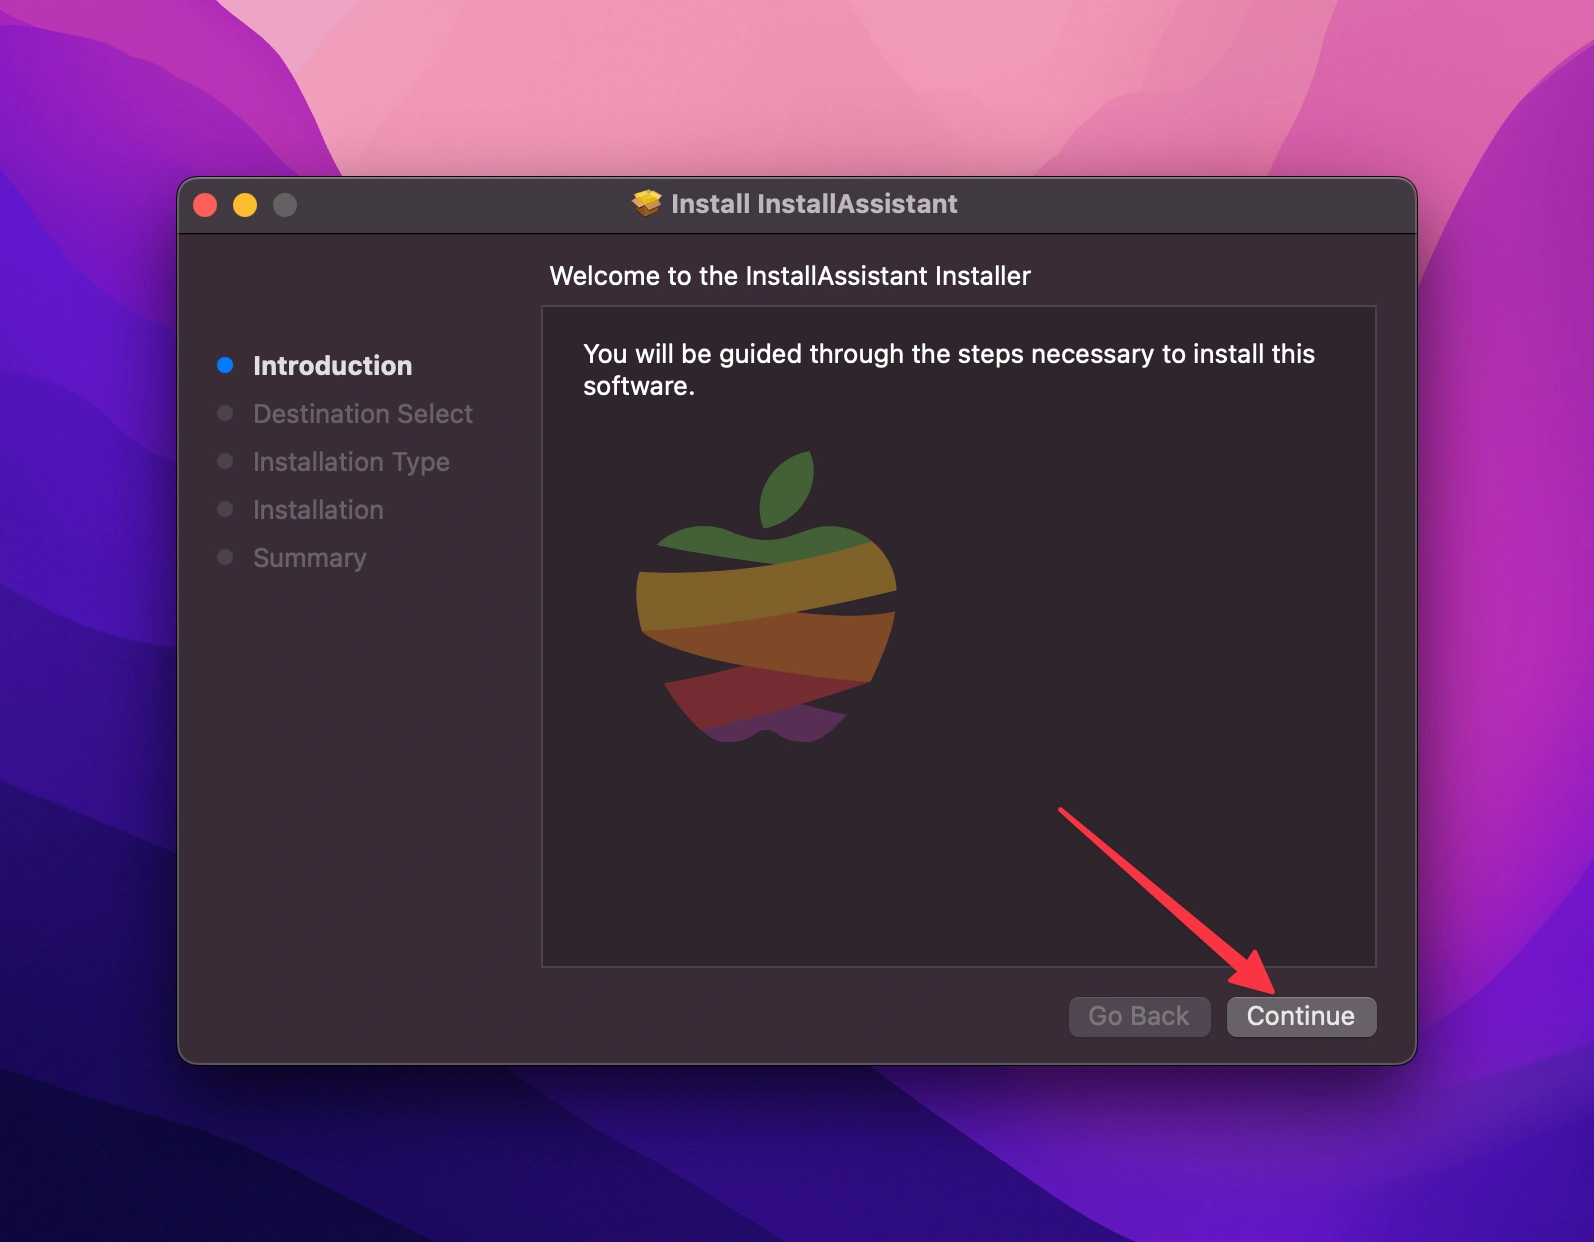
Once the installer is ready, open it to begin the installation process.
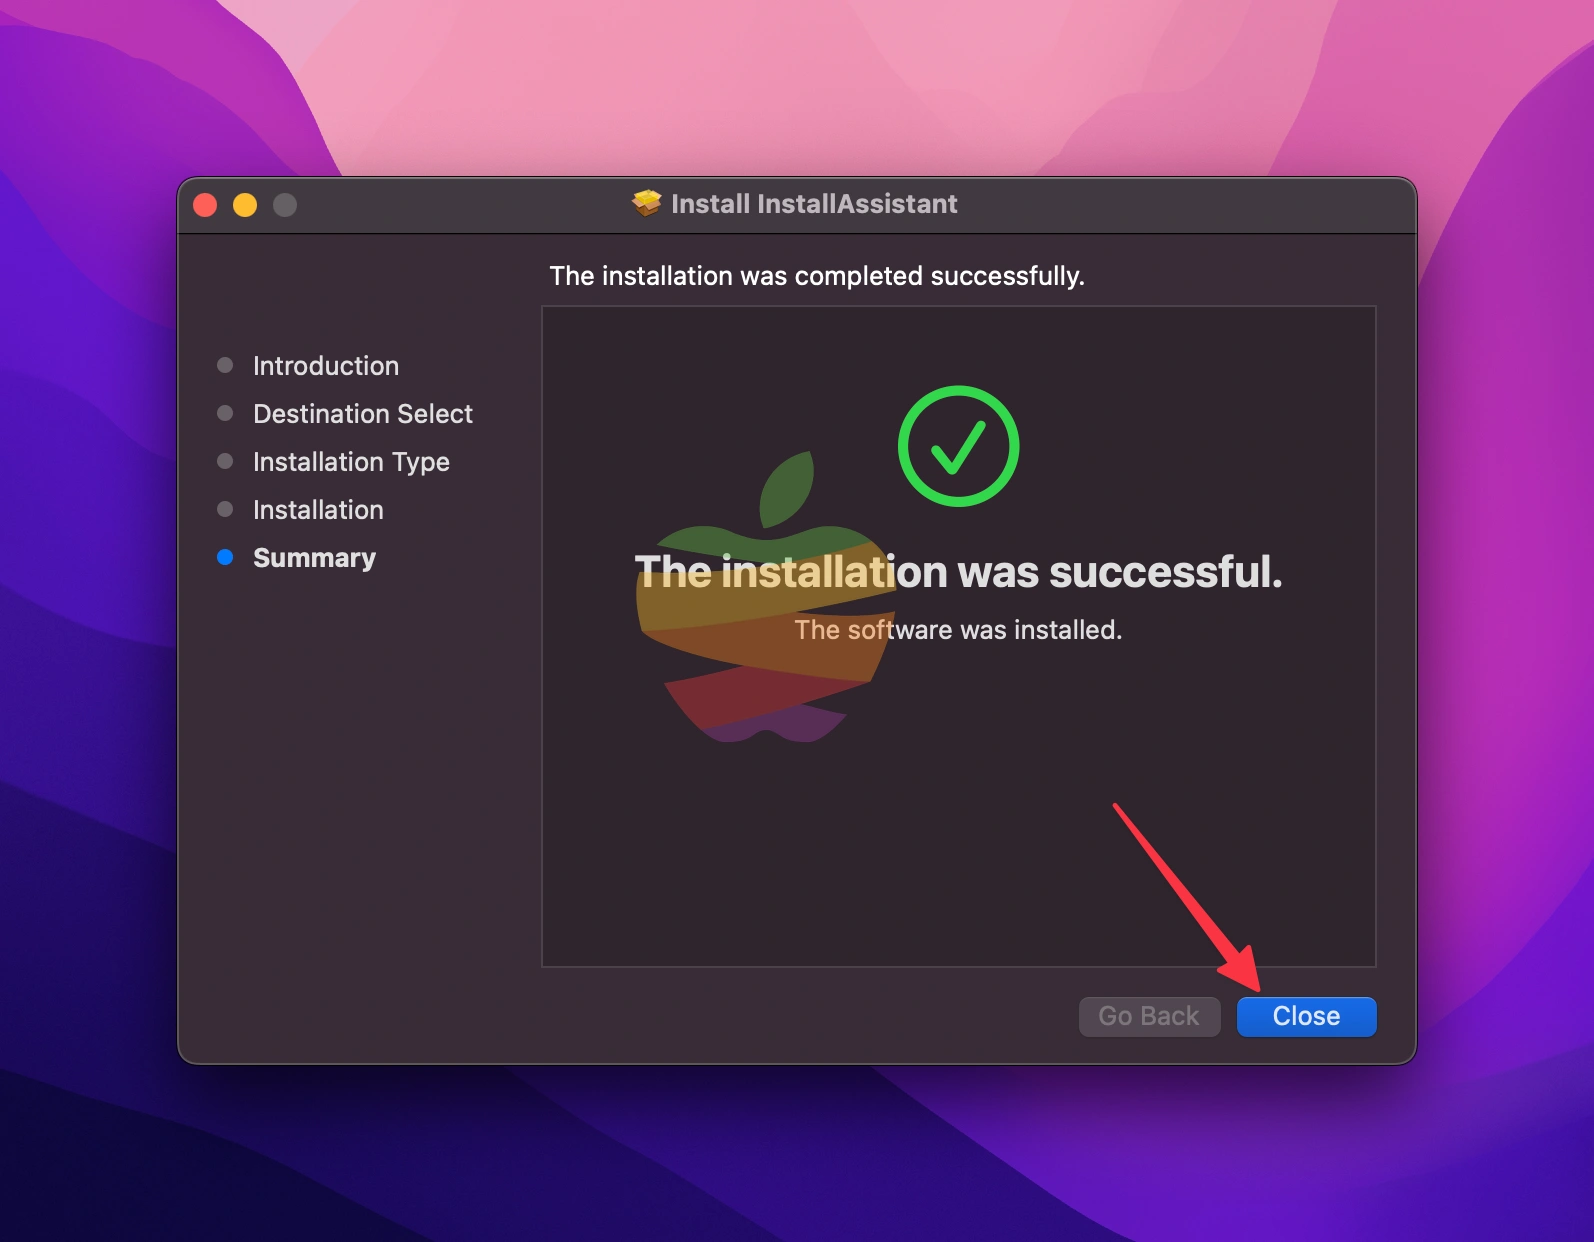
Click Continue
Click Done
Step 3: Install macOS Tahoe on the New Volume
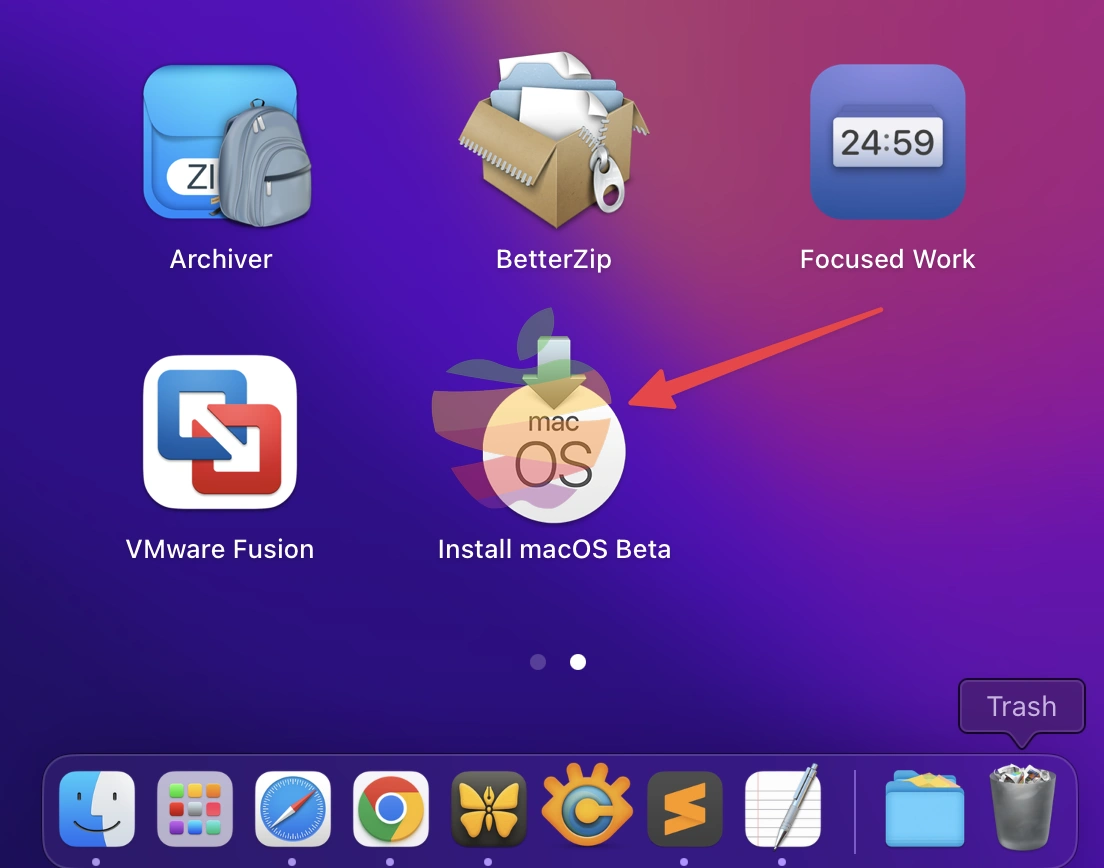
Now that you’ve set up a separate partition or volume installing macOS Tahoe is time.
Open the macOS Tahoe installer from the Applications folder.
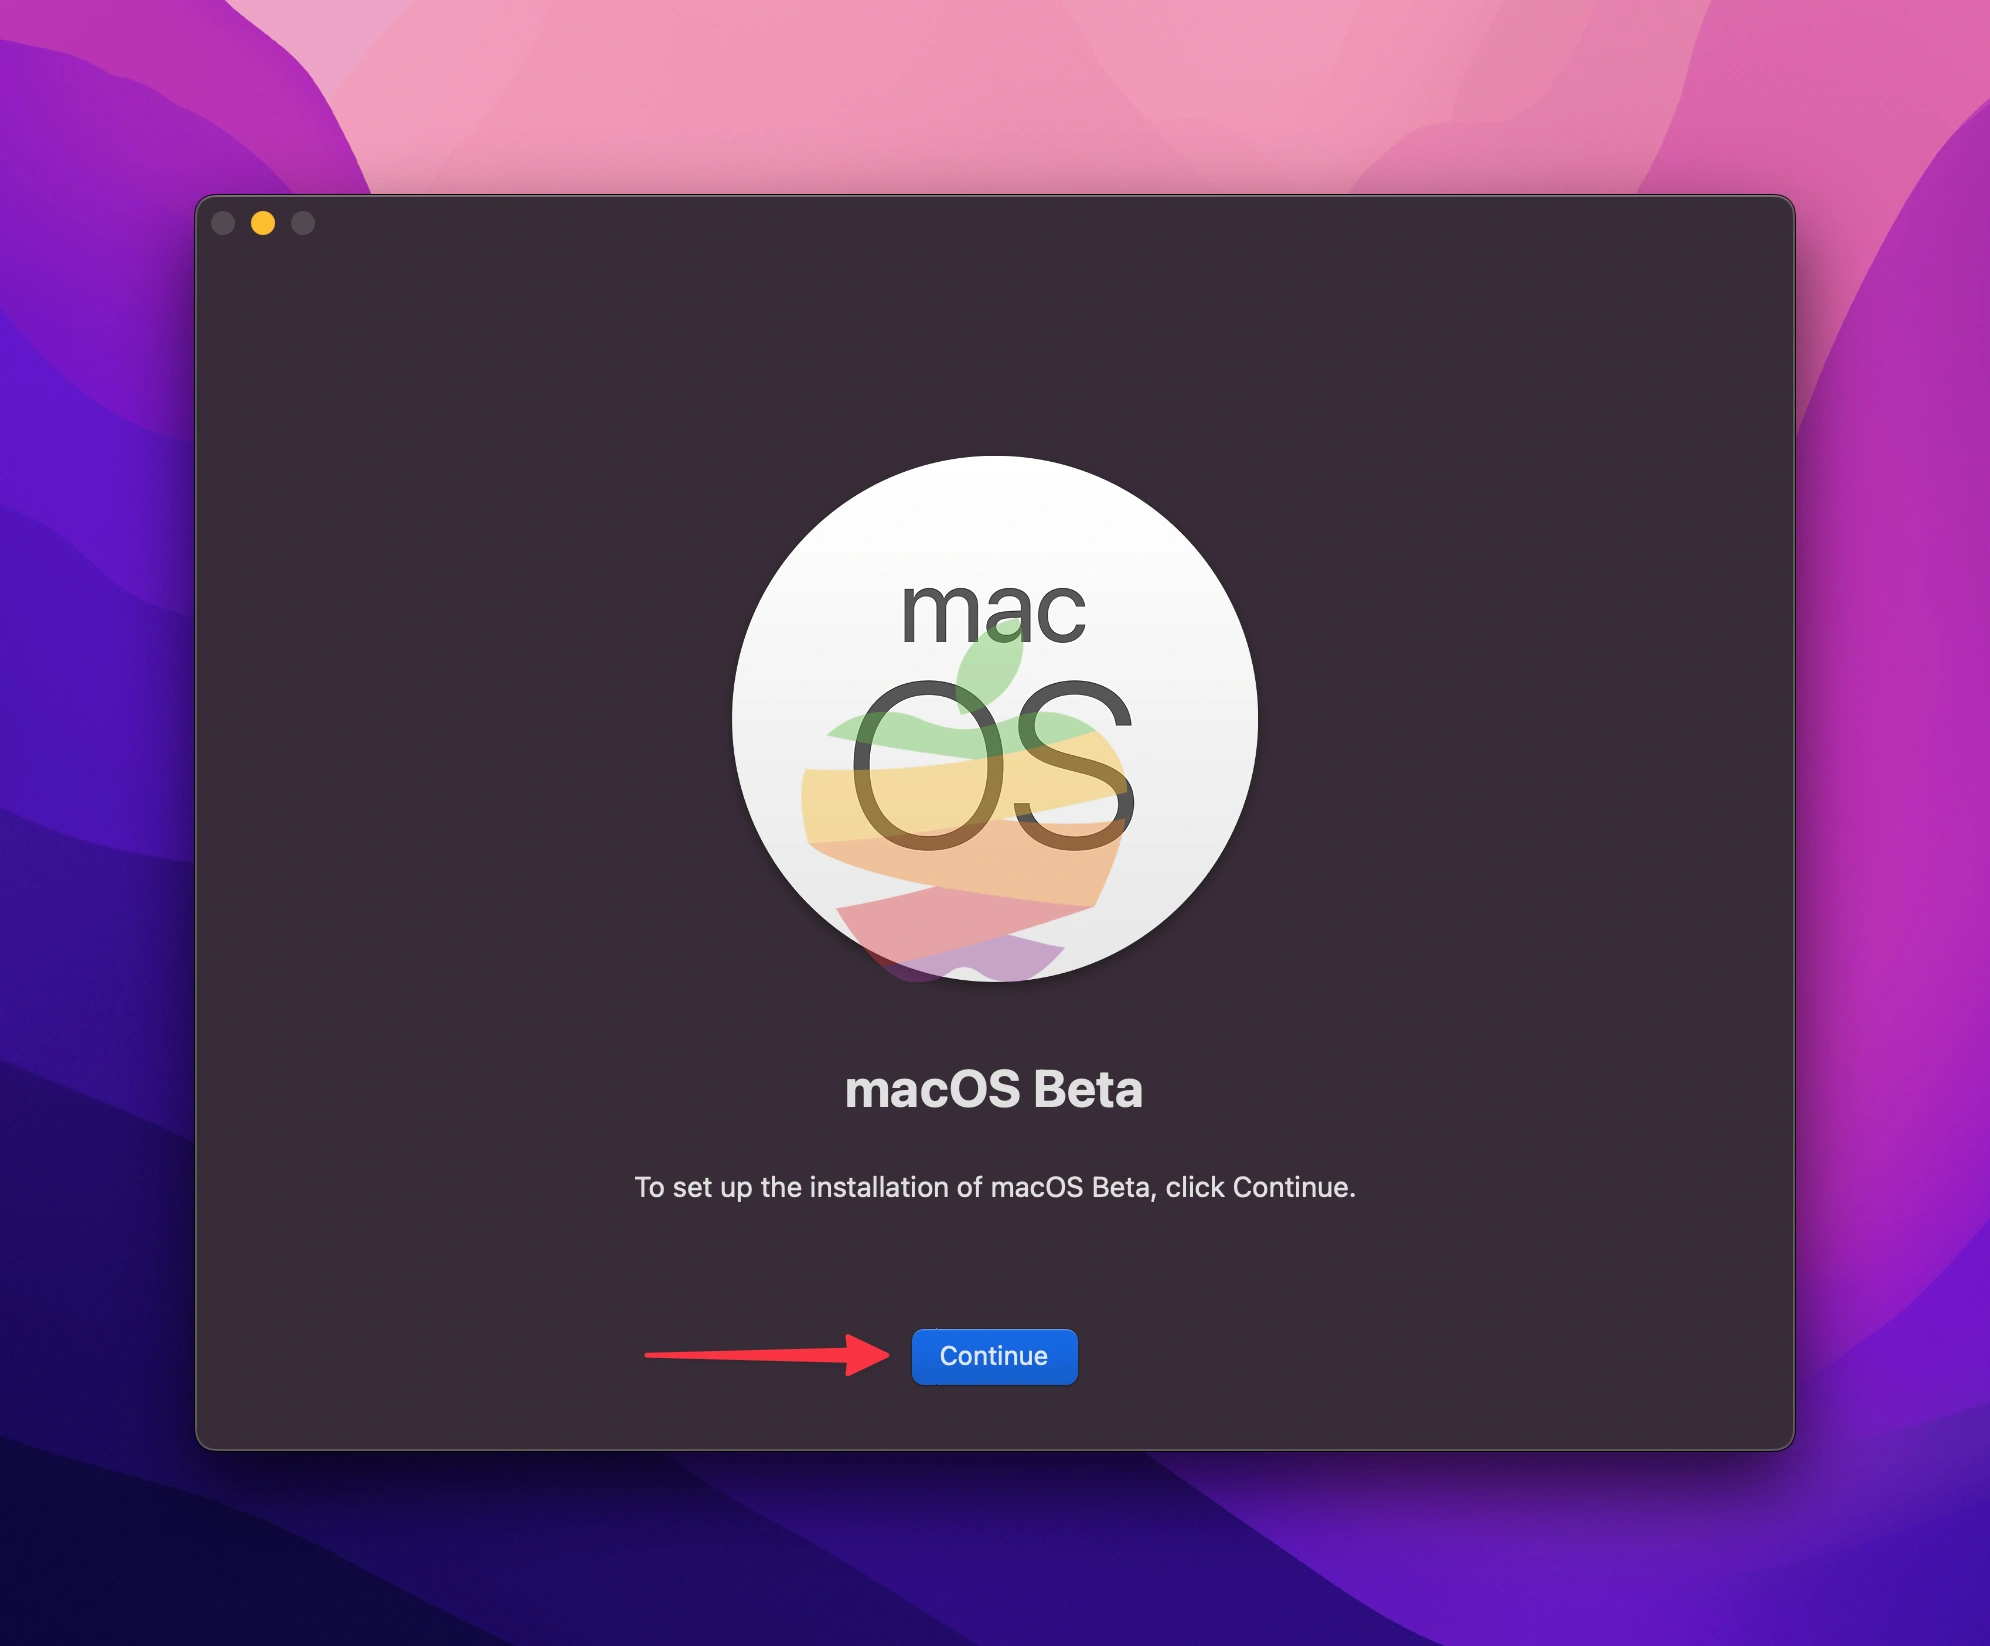
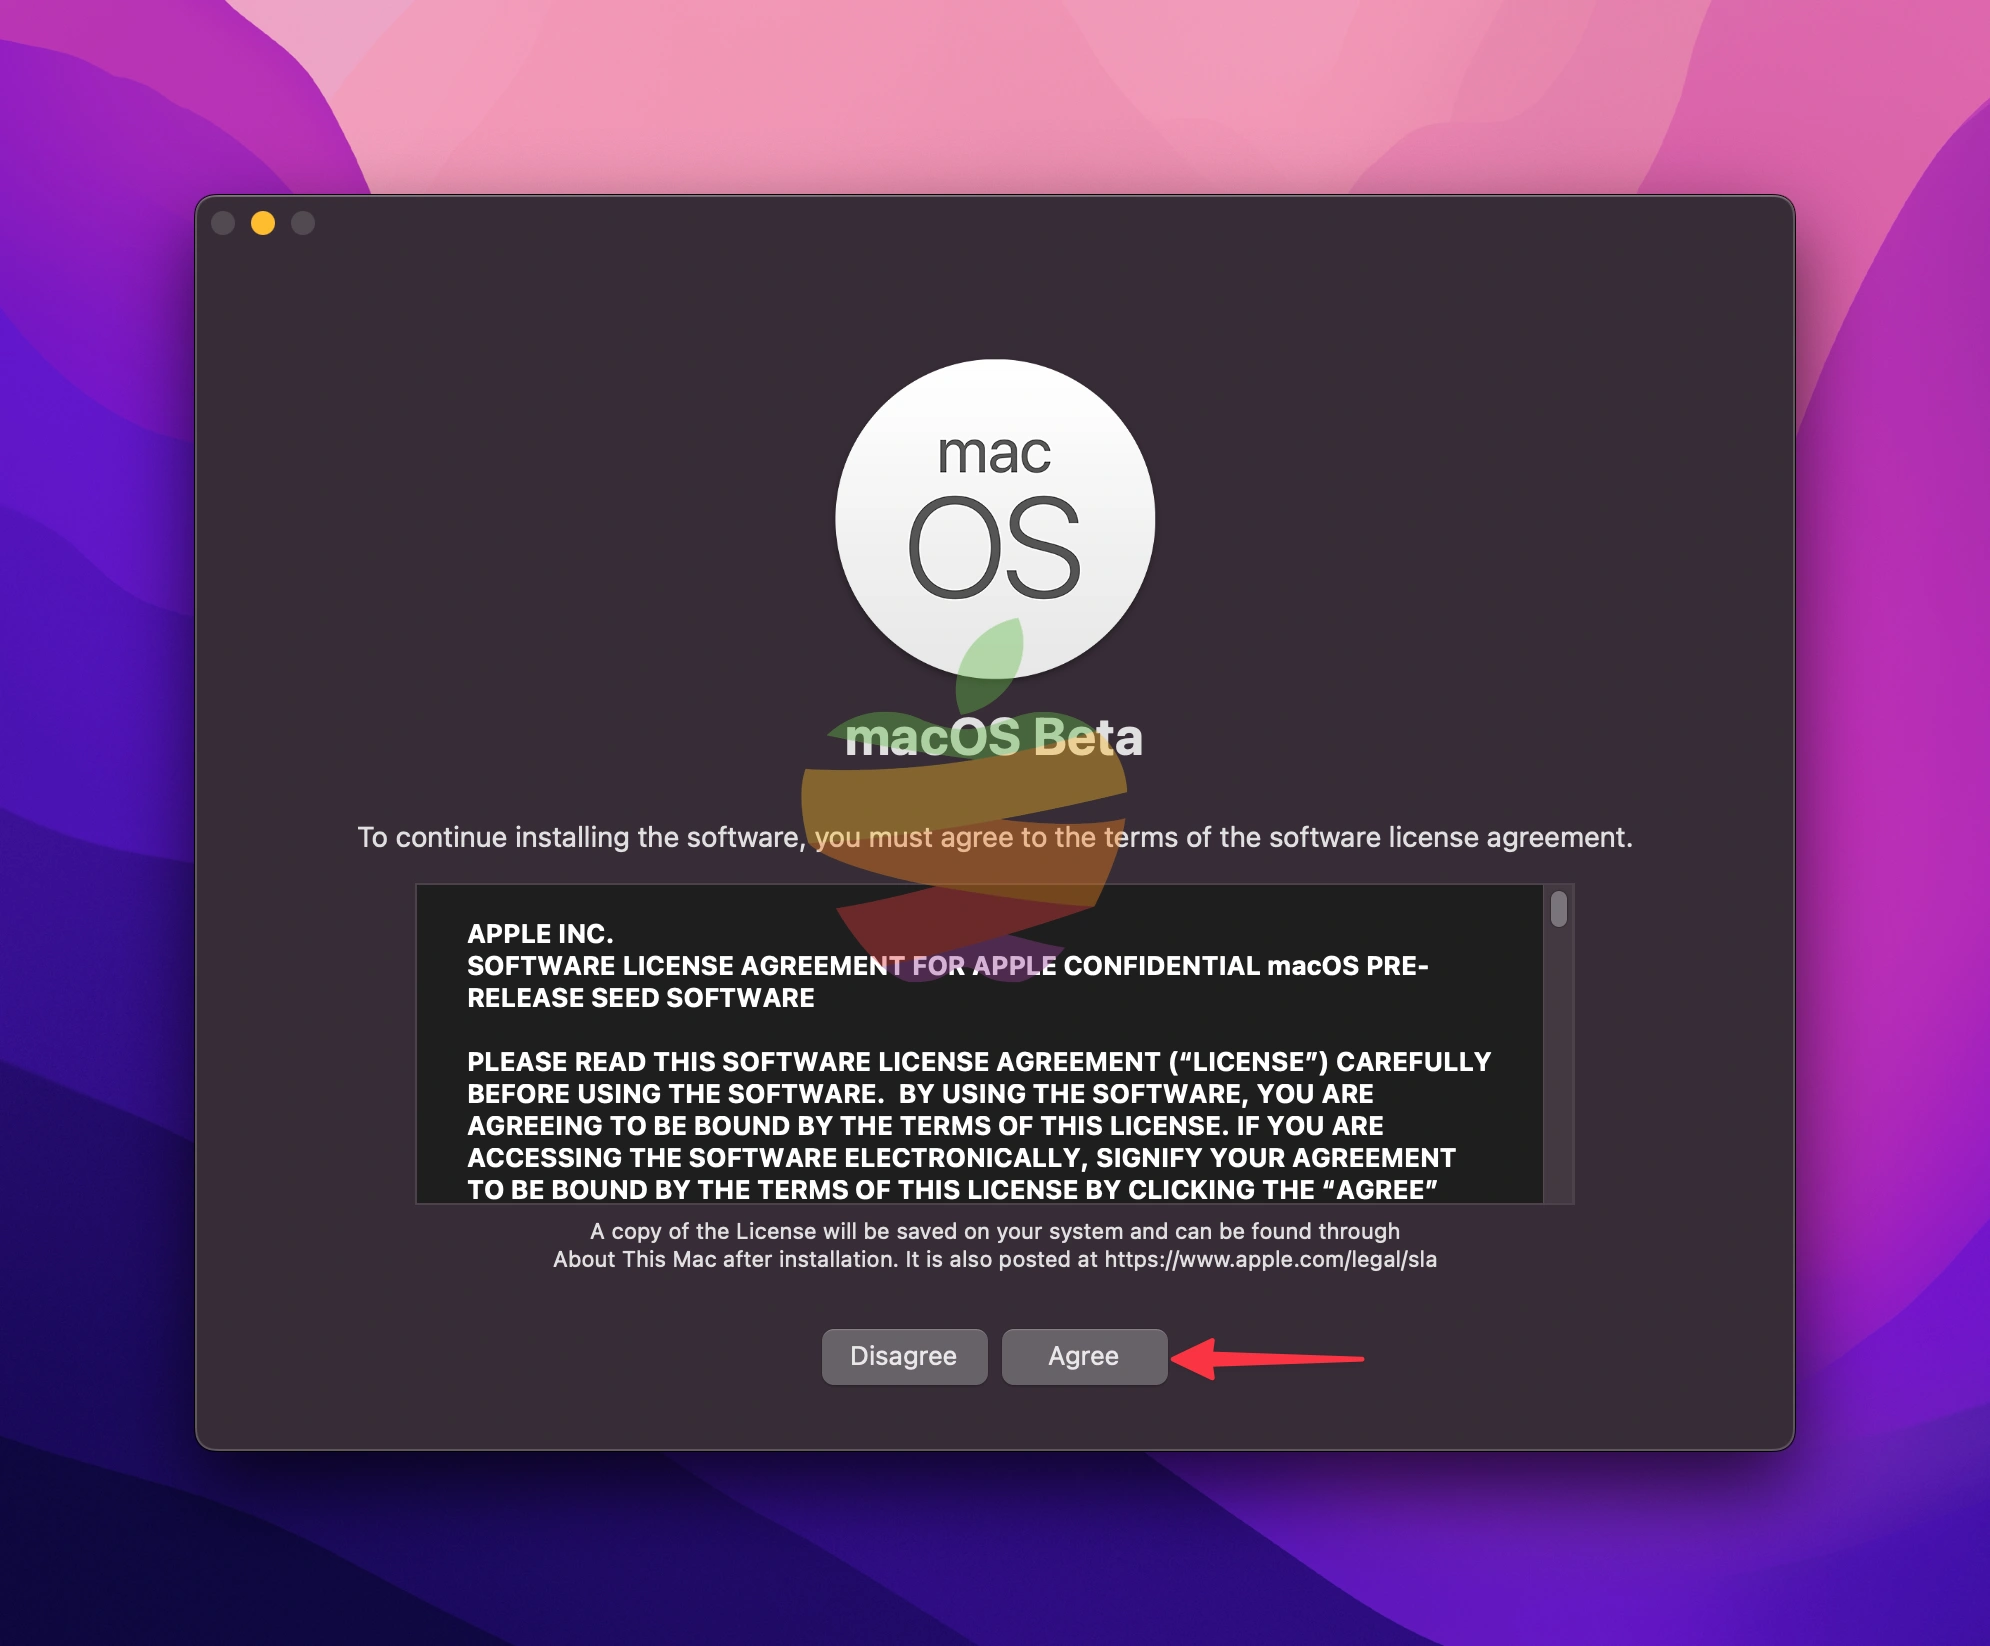
Click Continue, then Agree to the terms and conditions.
Choose Show All Disks…

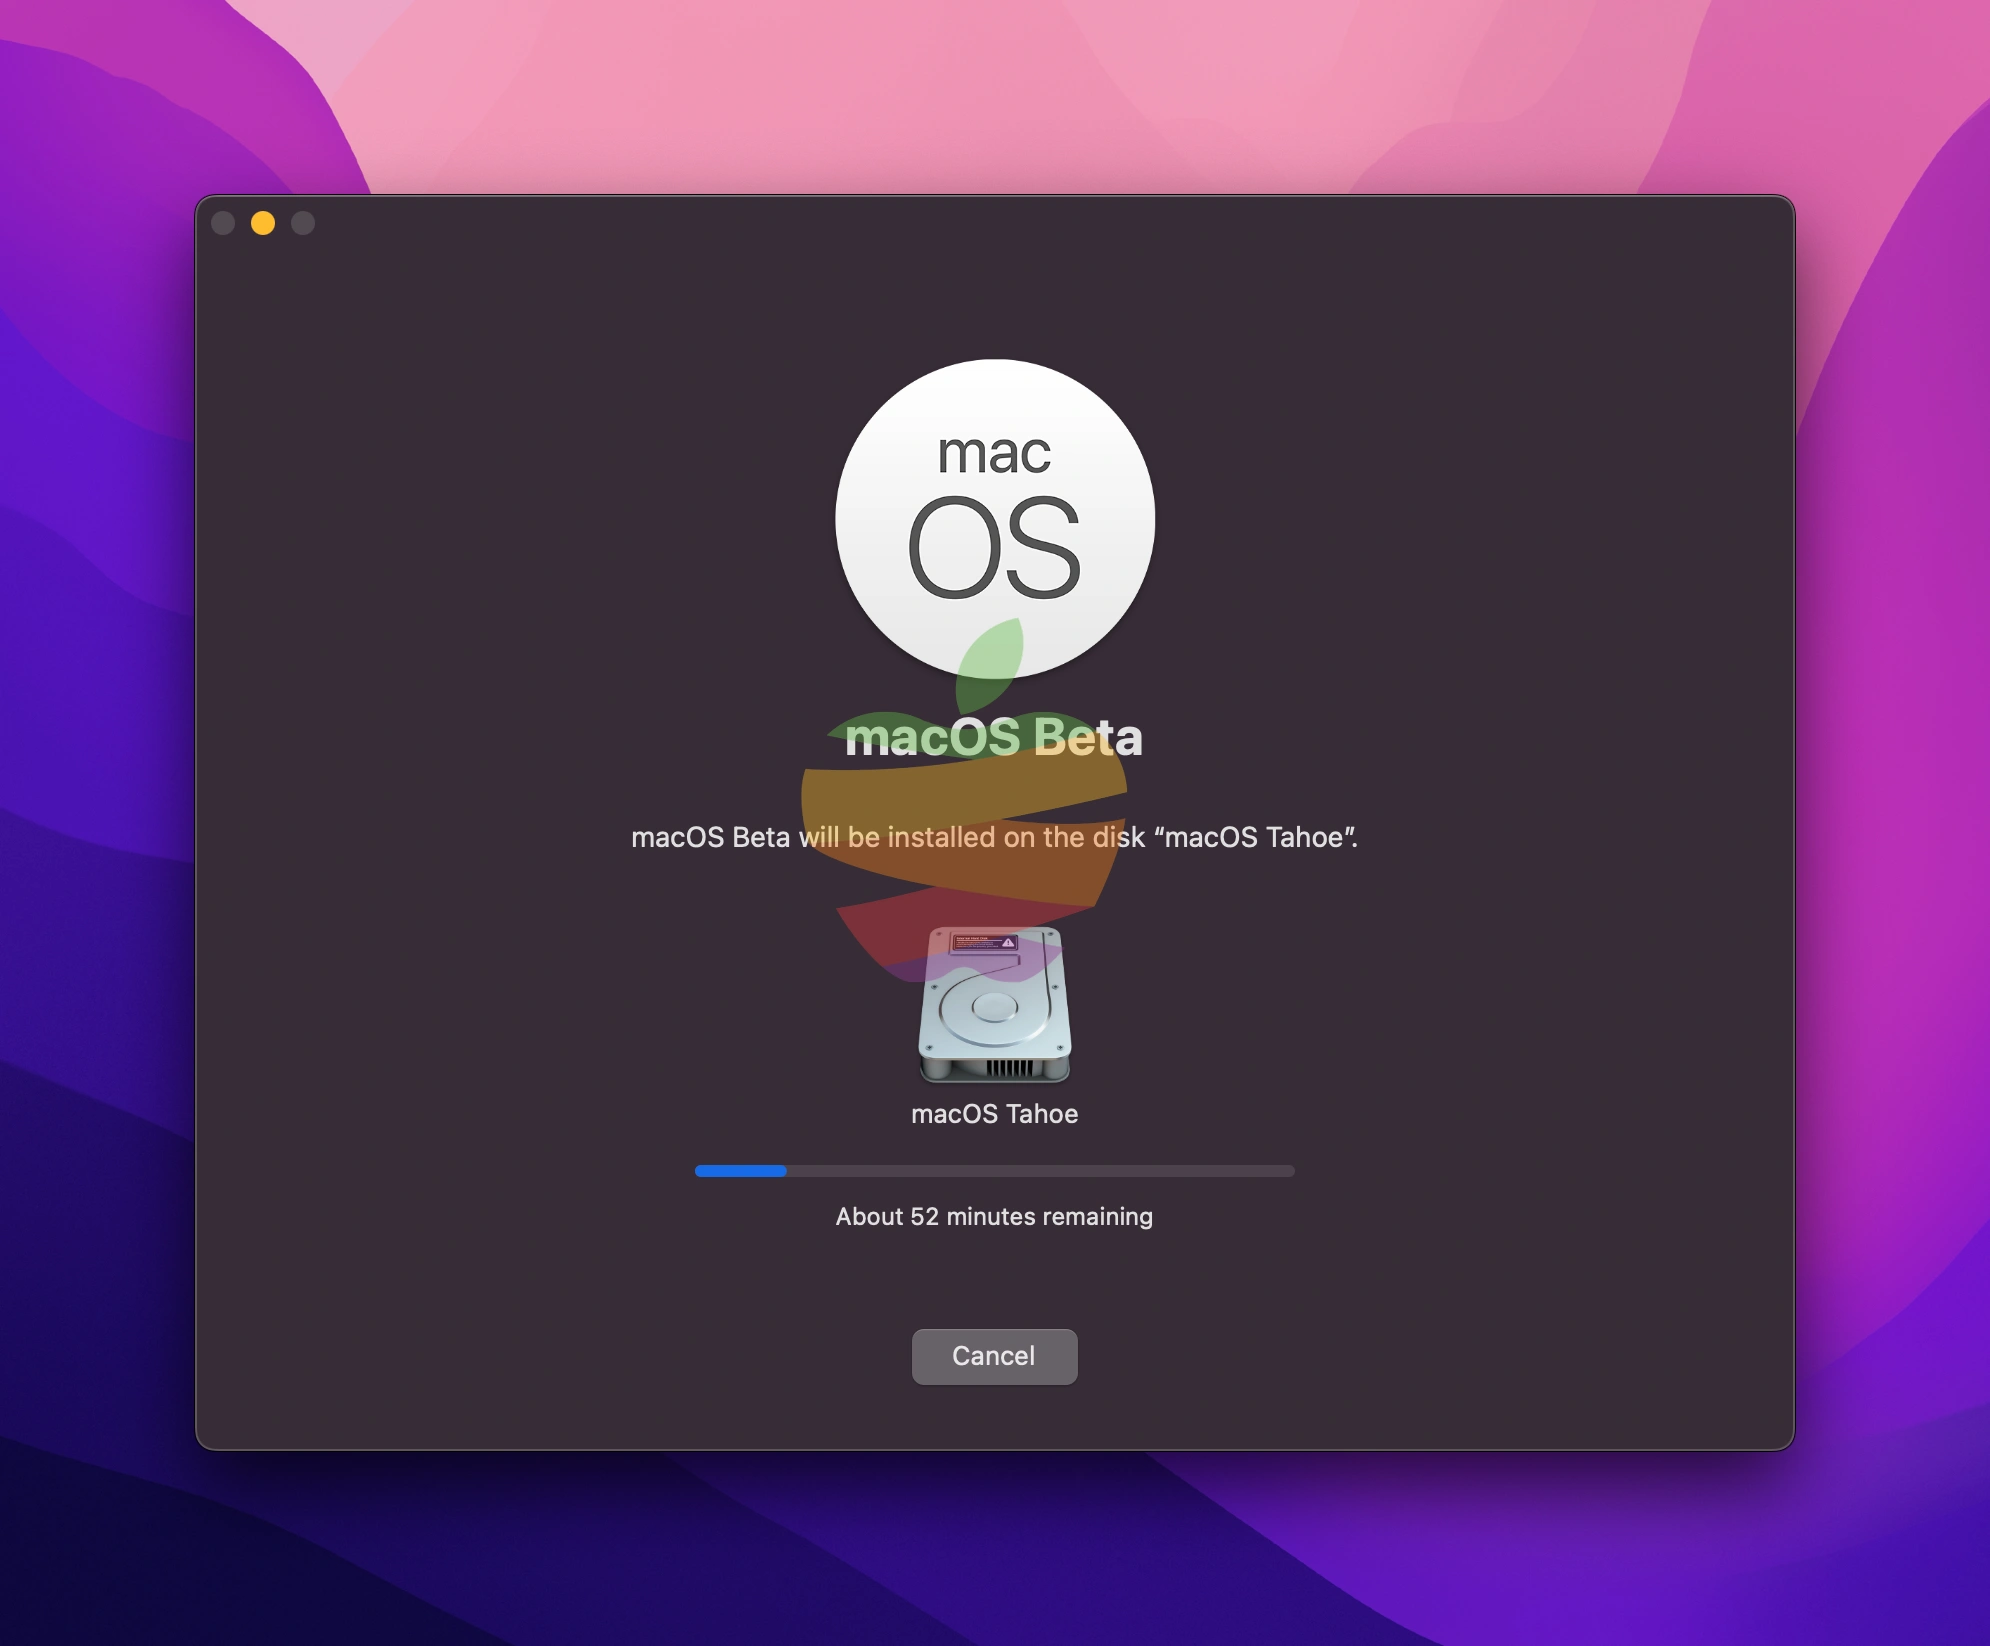
Select the macOS Tahoe partition or APFS volume you created before and click Continue.

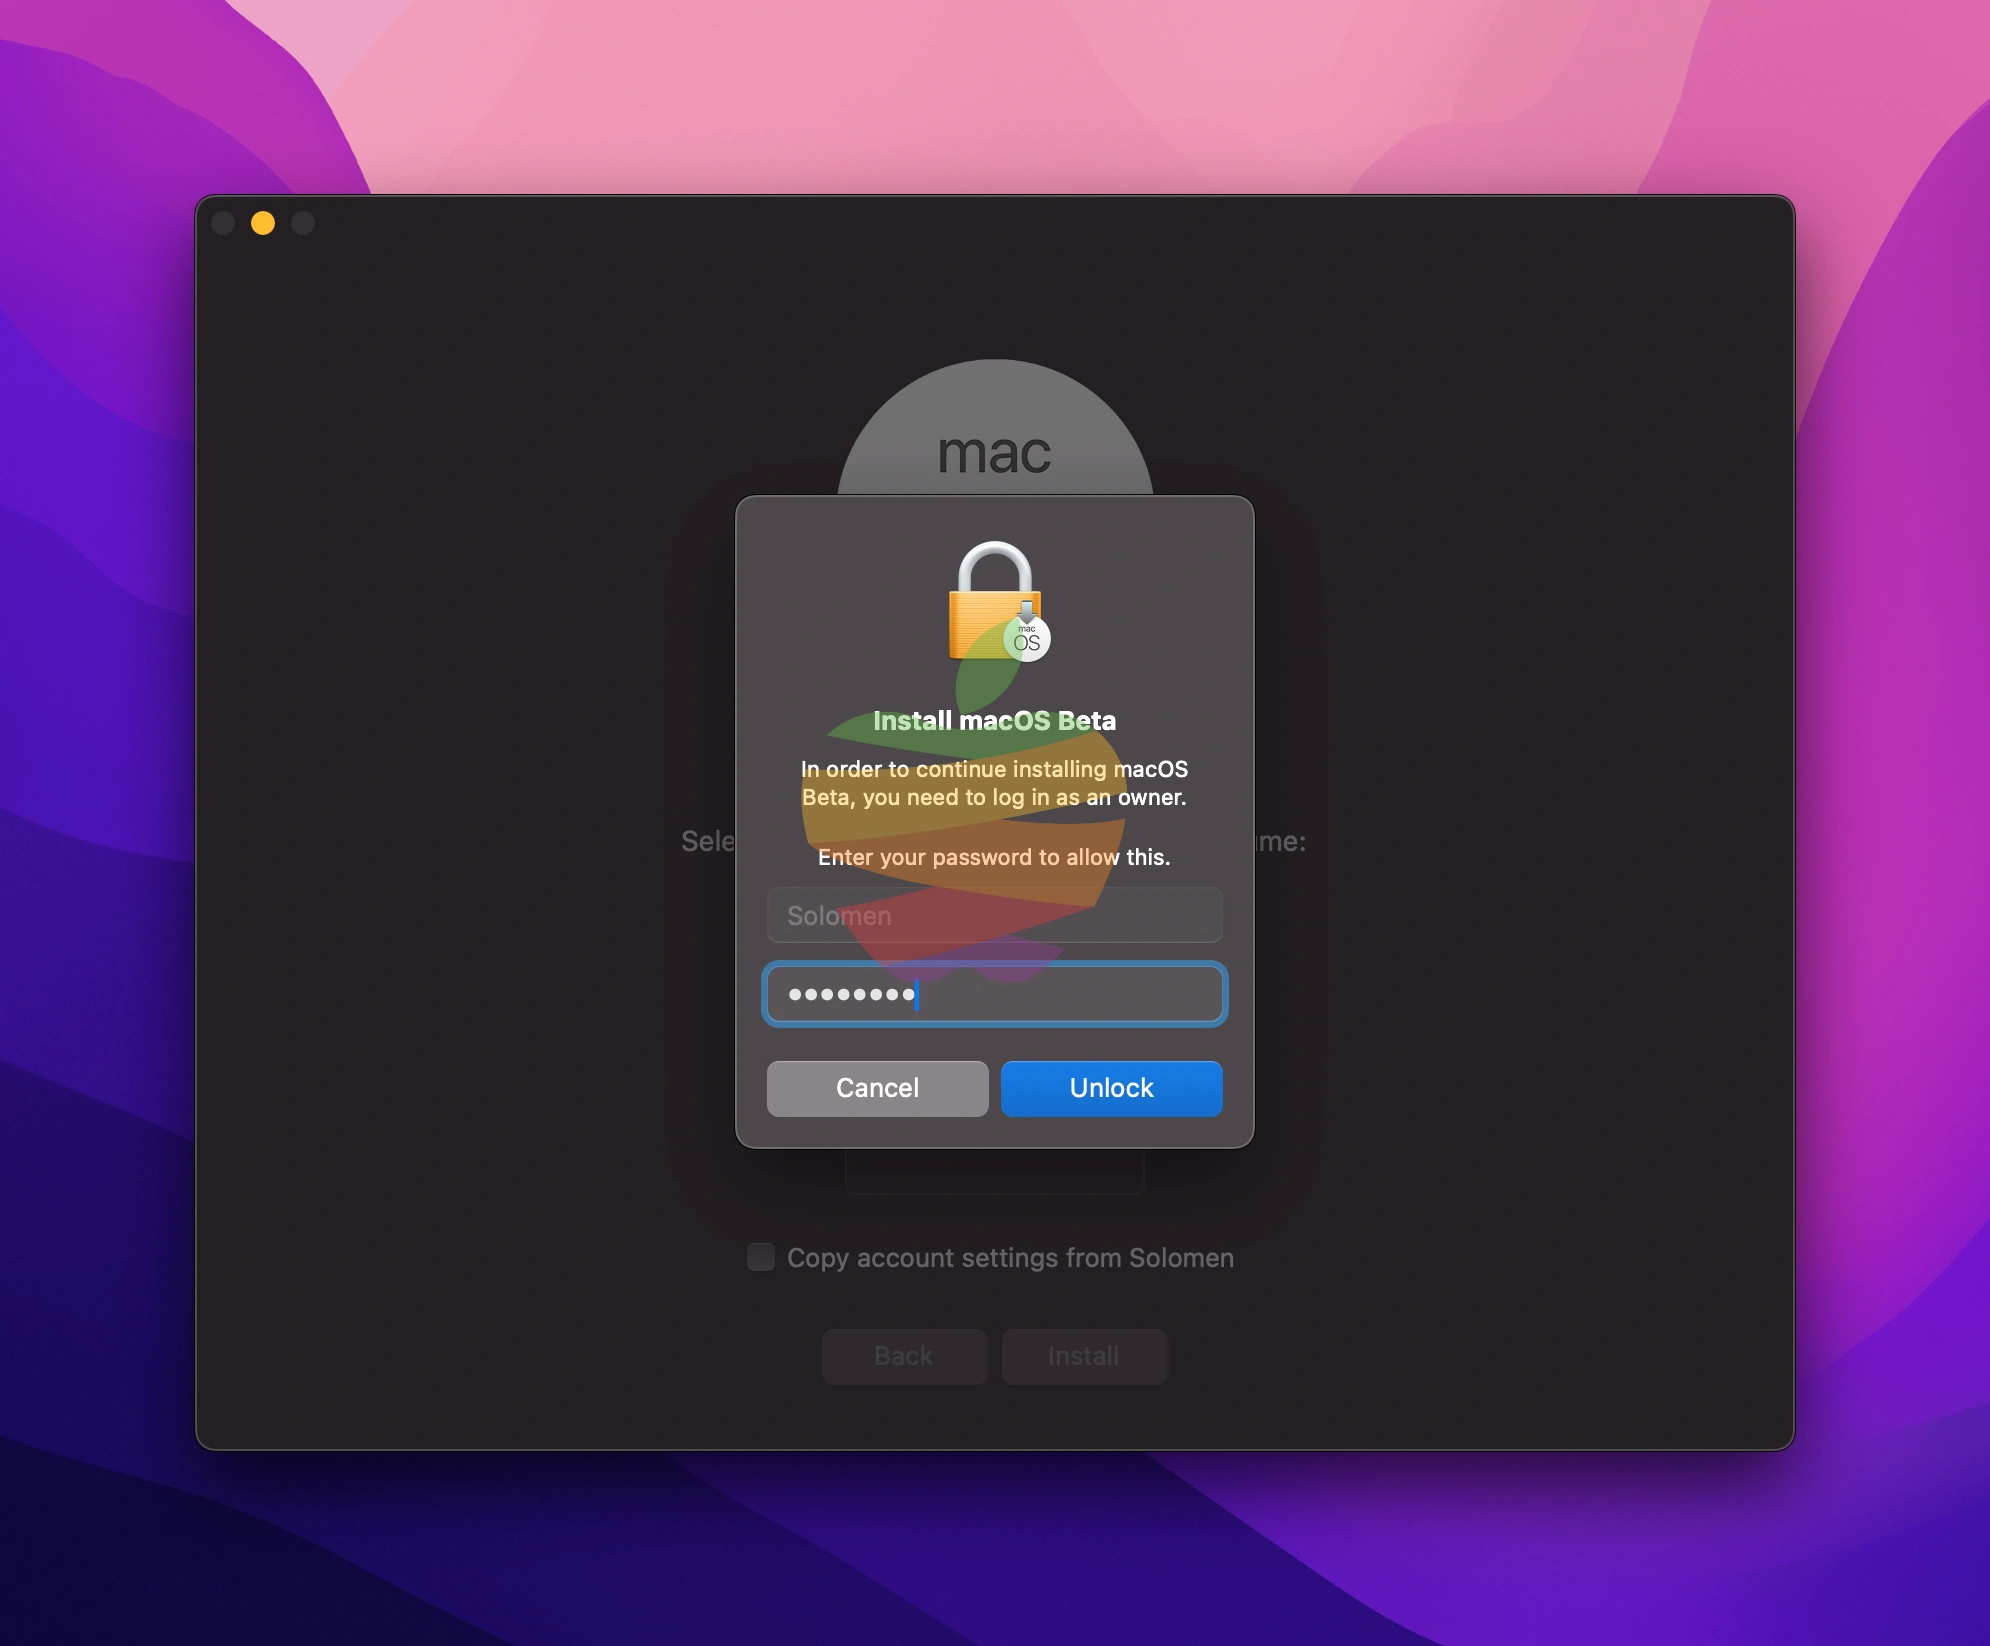
Click Install and enter your password if prompted. The installation will begin.
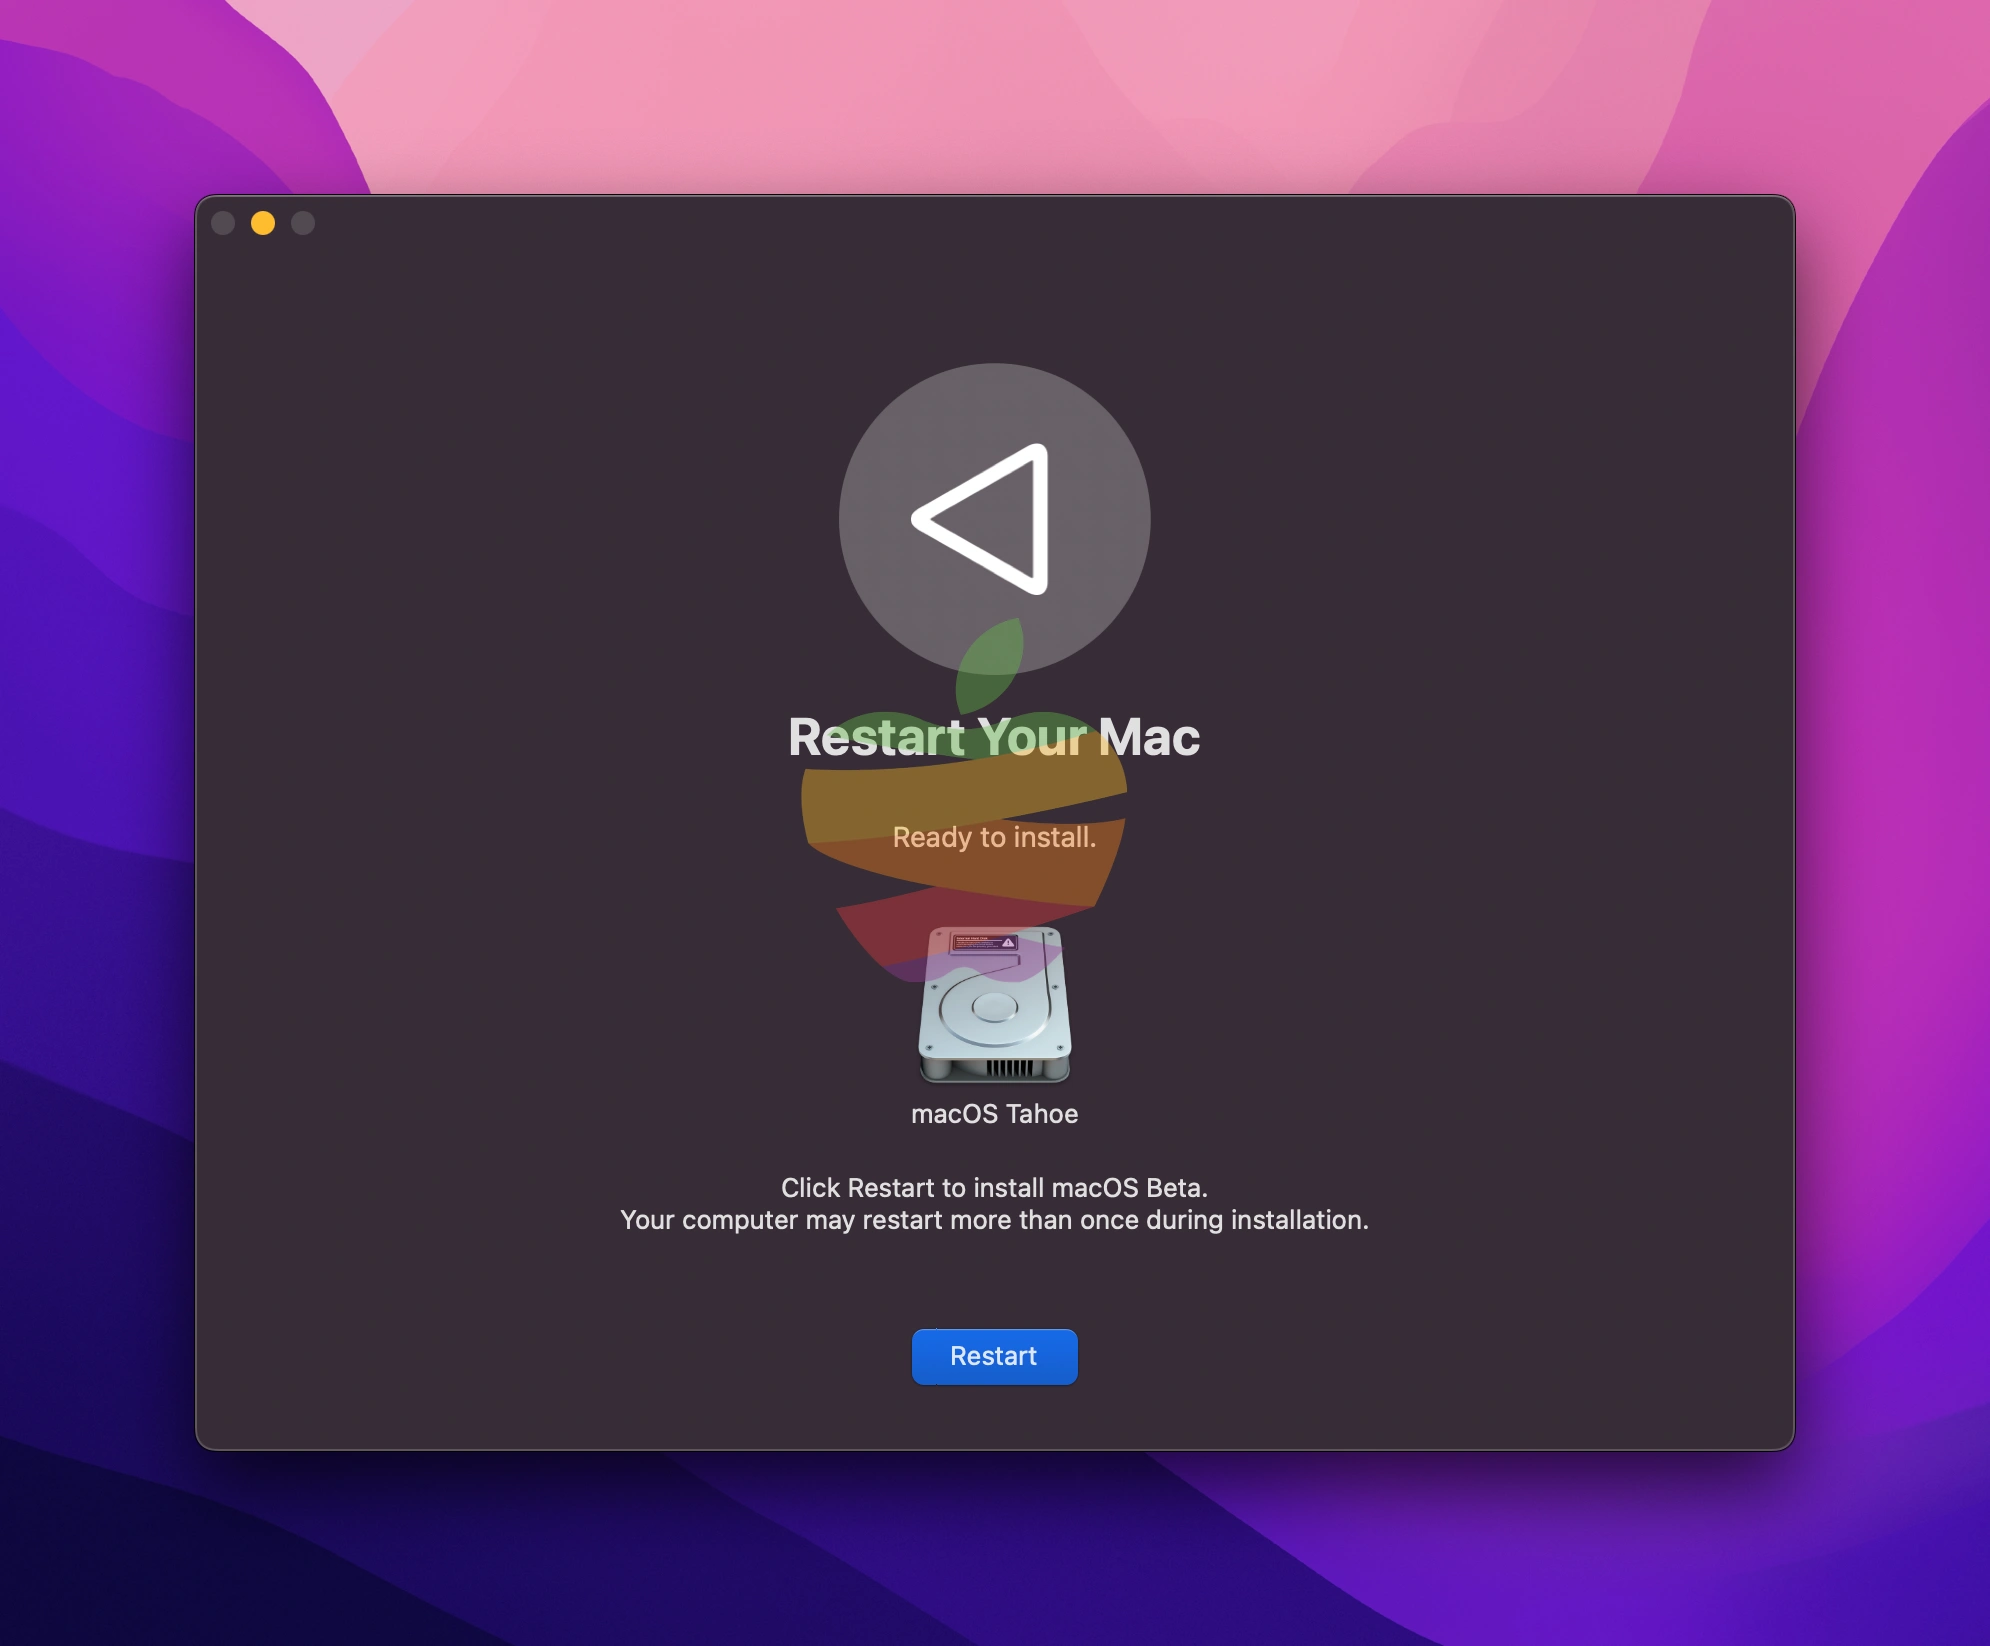
Click Restart button and wait until the window disappears, and your system automatically restarts your Mac.
Note:
At this stage, my Mac froze, and nothing happened. I had to force it to turn off by holding the Power button, then press it again to turn the Mac back on.
It set the new volume (macOS Tahoe) that I created as the primary boot. I didn’t fully understand this, but I just continued with the next steps to complete the installation.
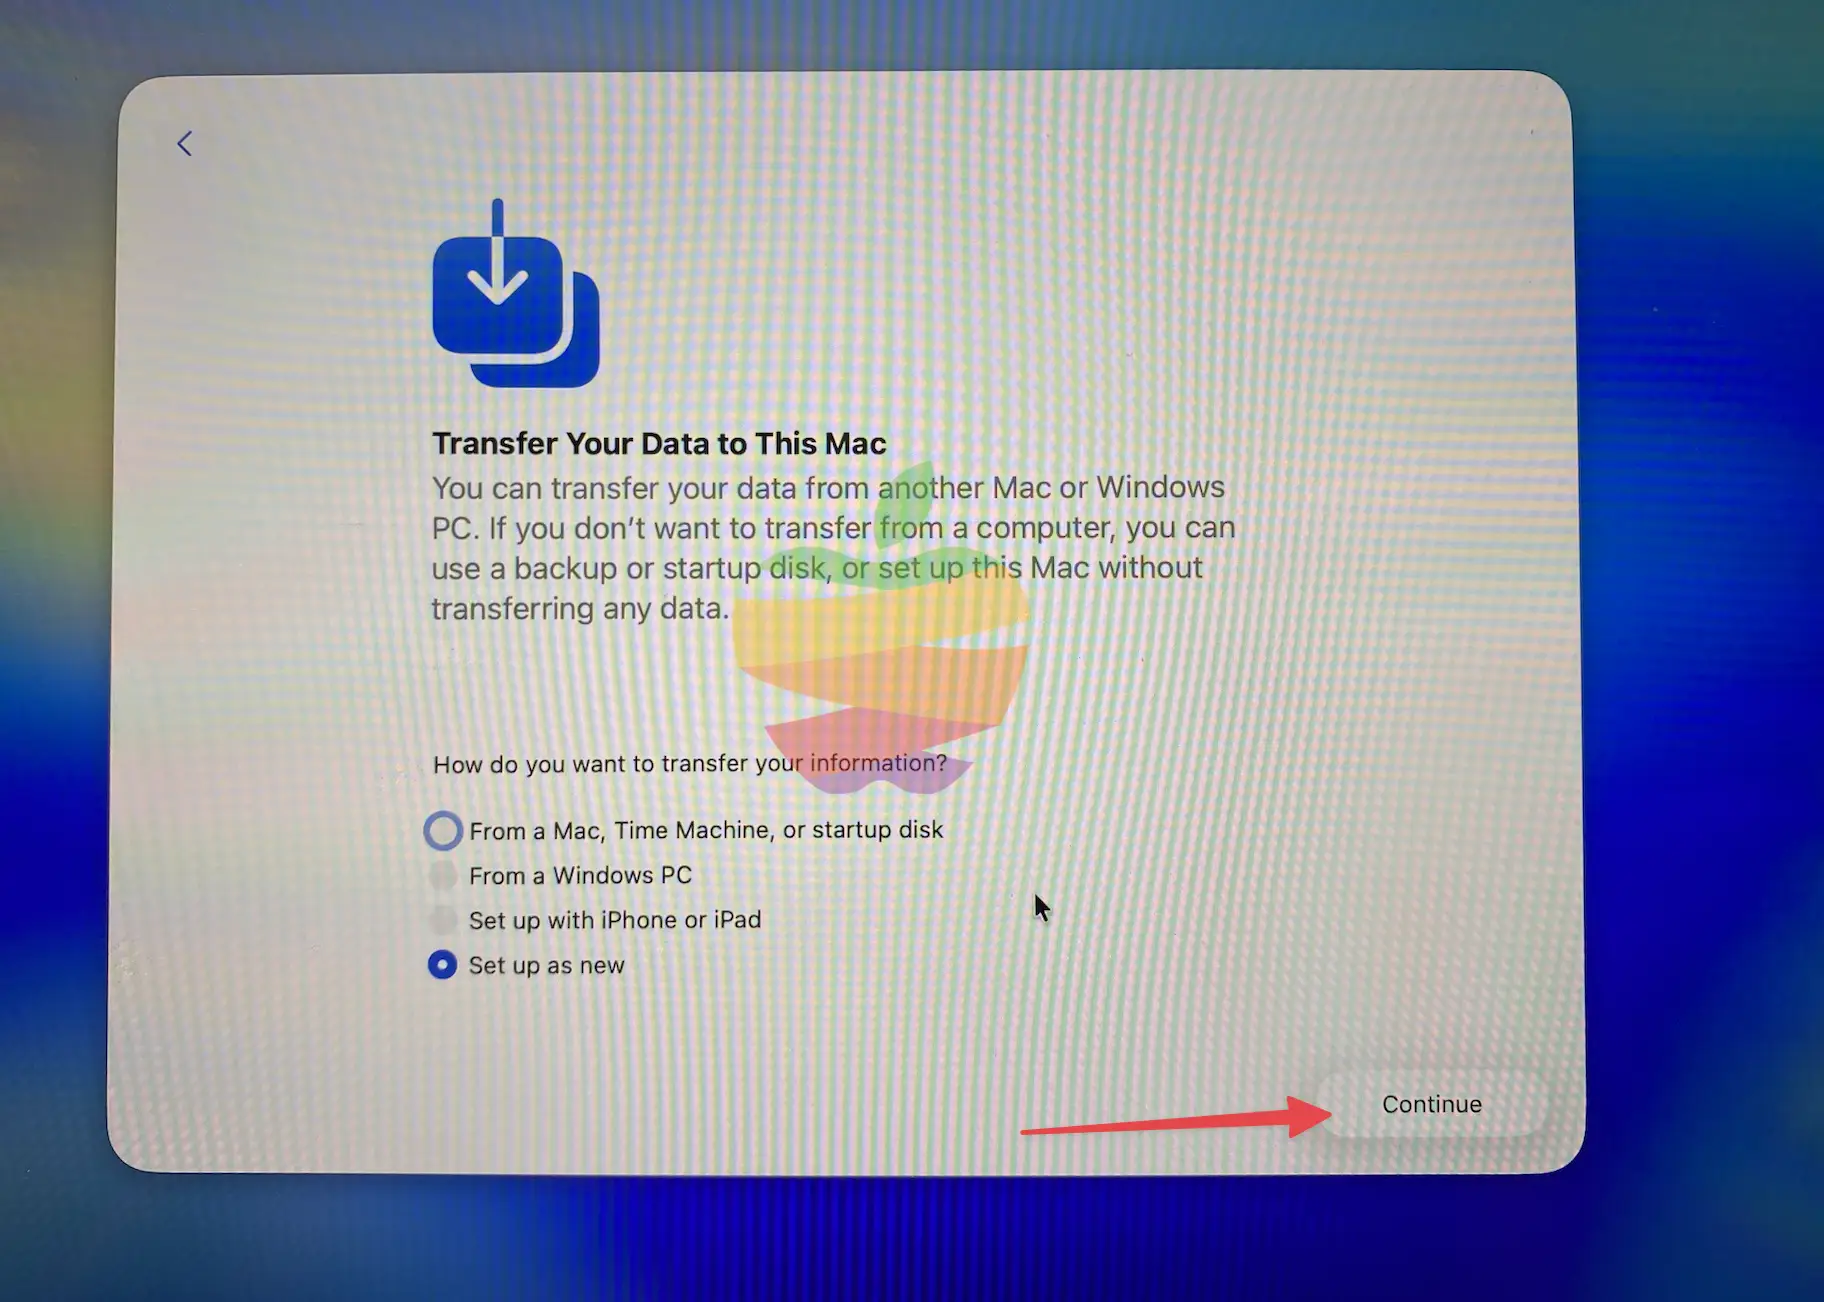
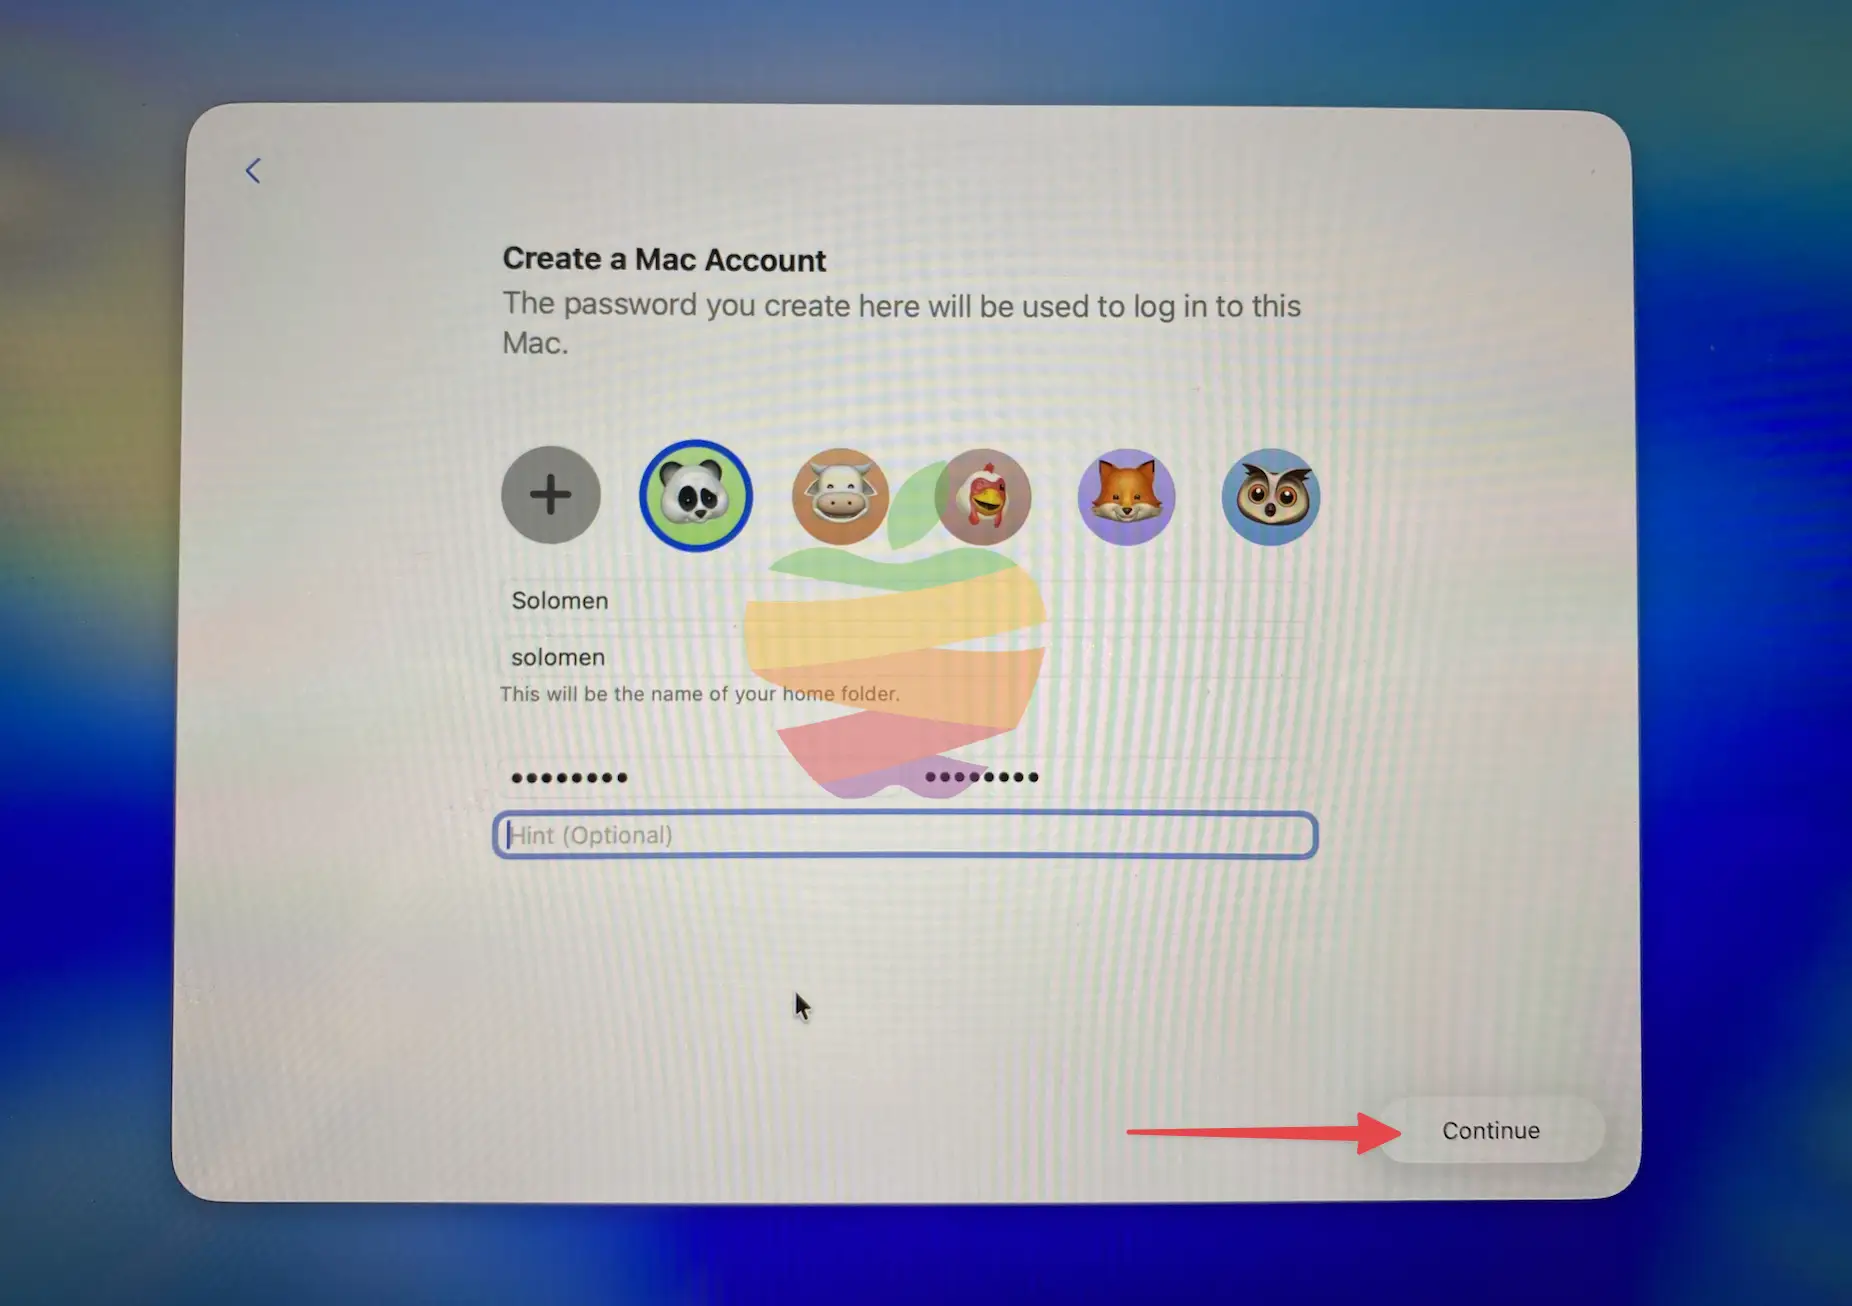
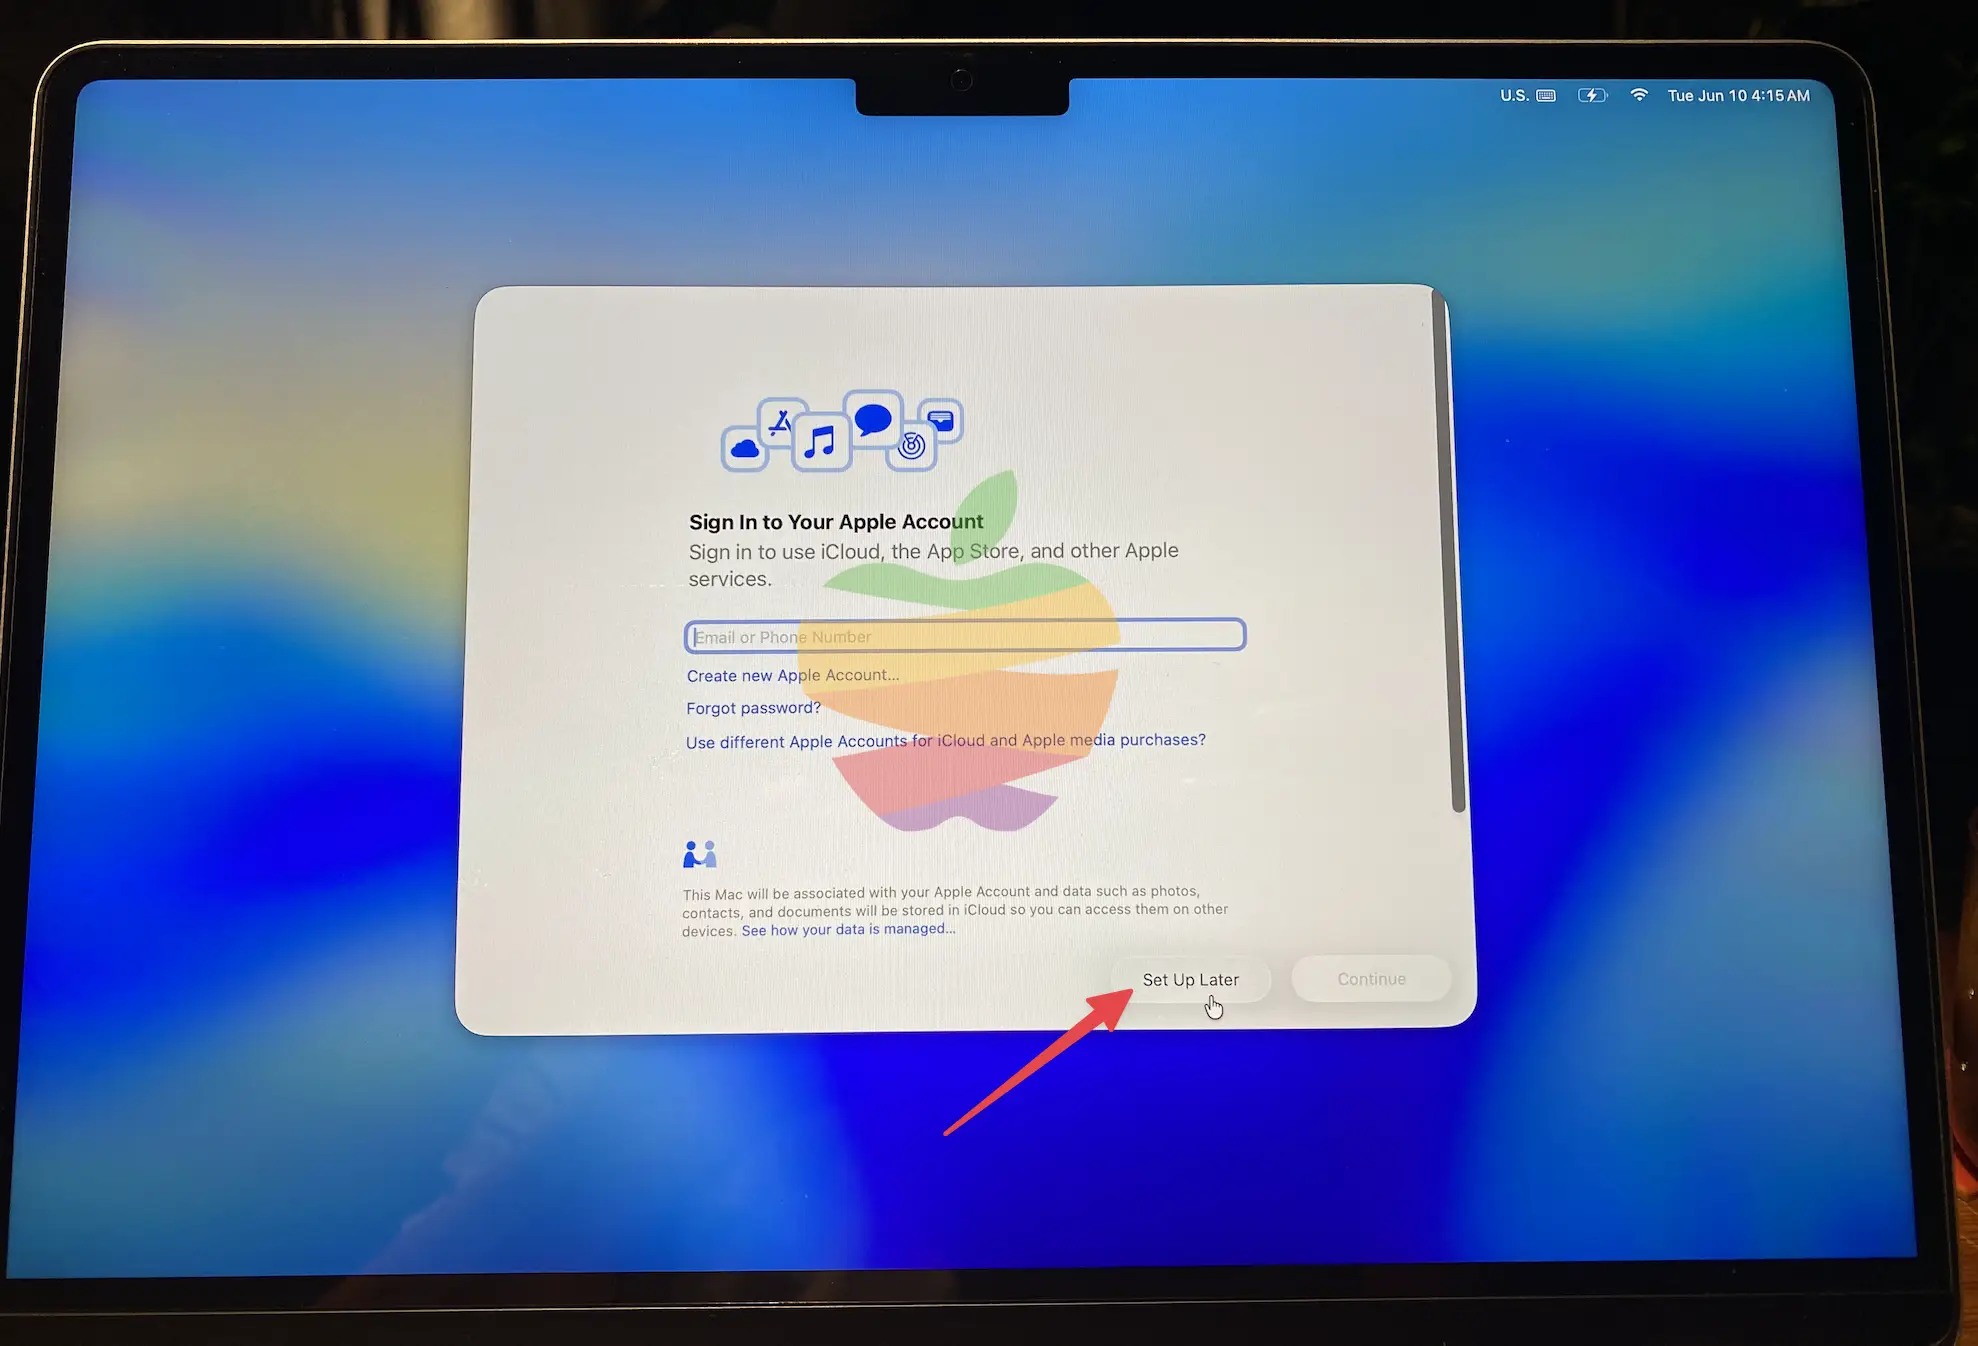
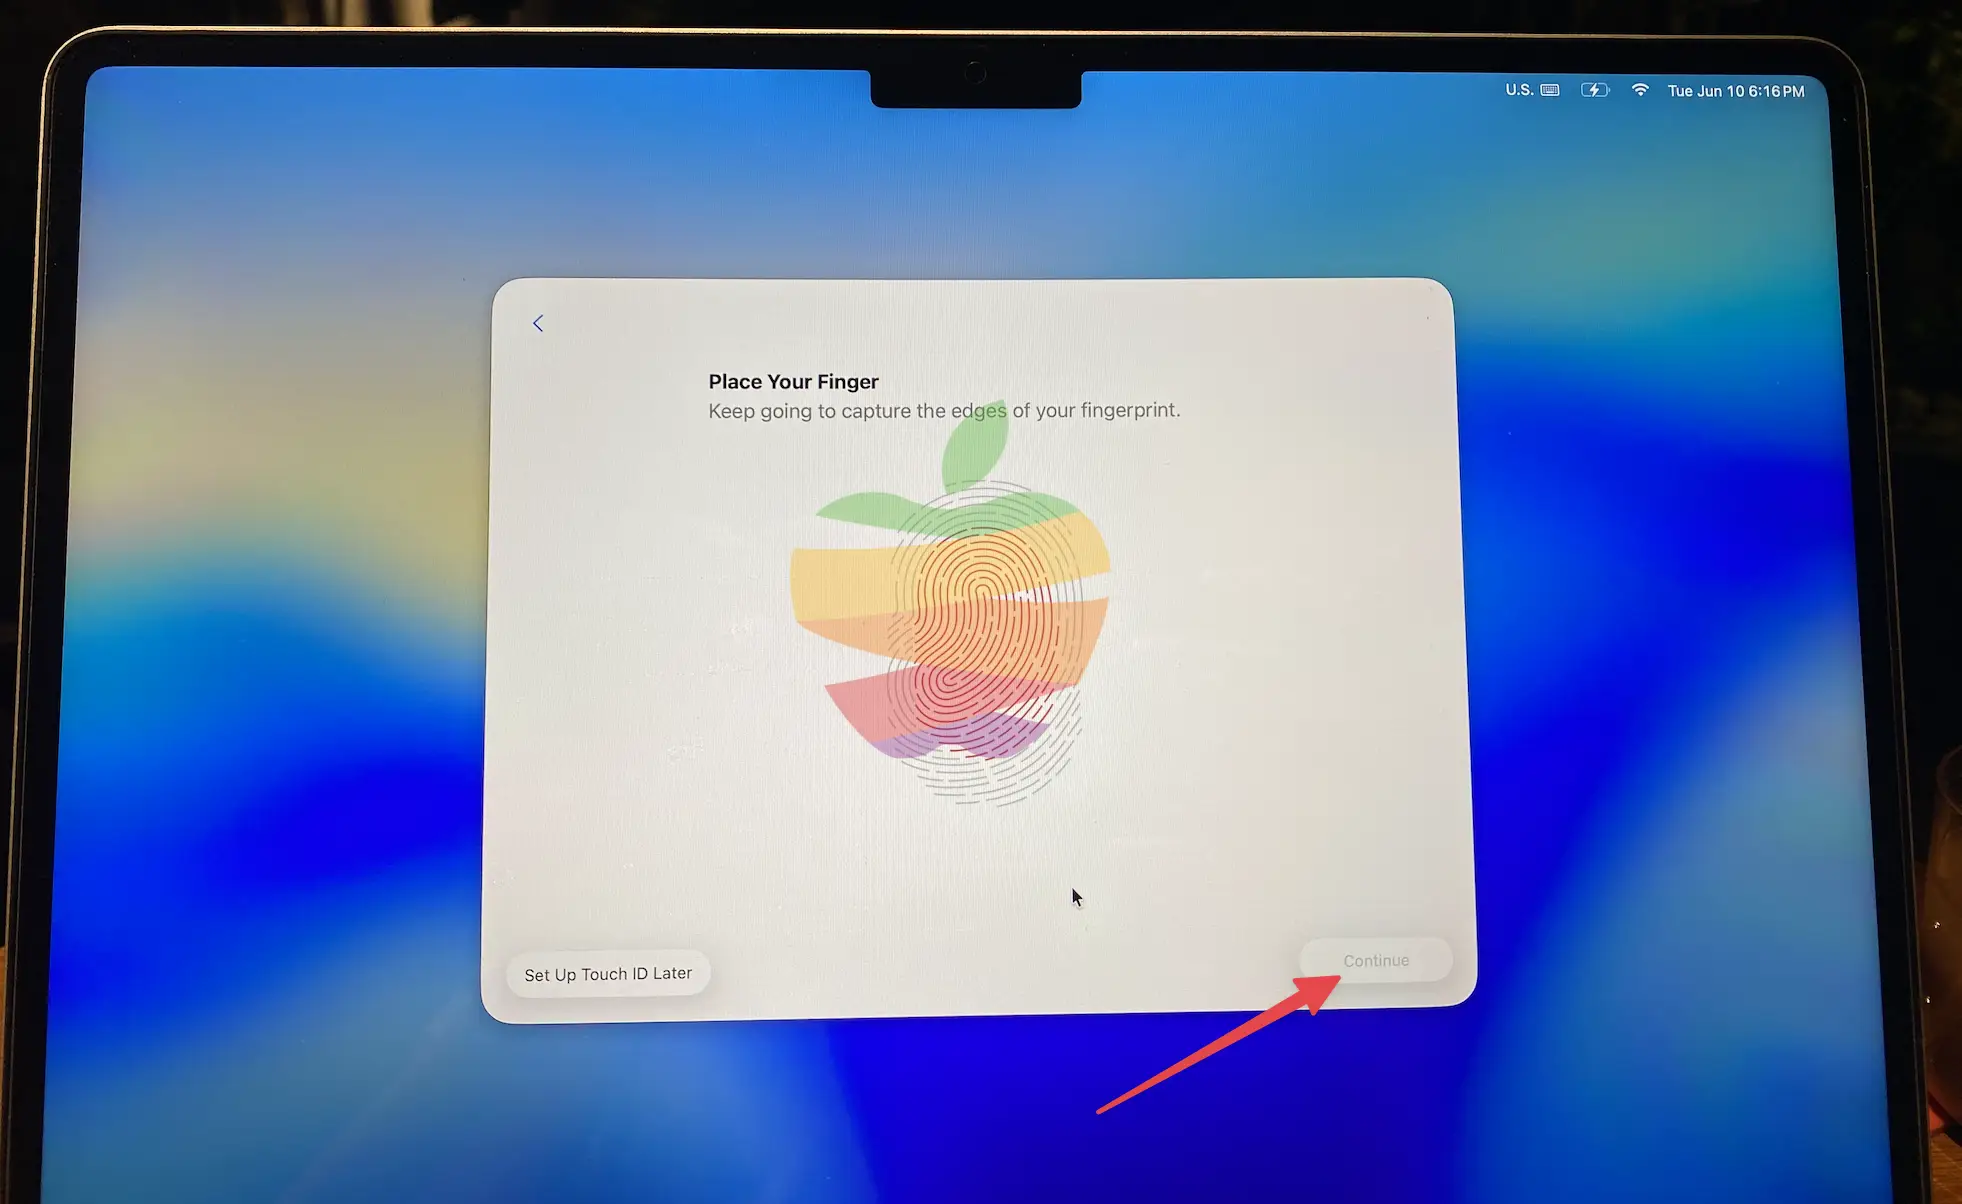
Step-by-Step to Installing The macOS Tahoe


Step 4: Set macOS Tahoe as a Bootable Volume
After installation, you can boot from your new macOS Tahoe or Sequoia volume
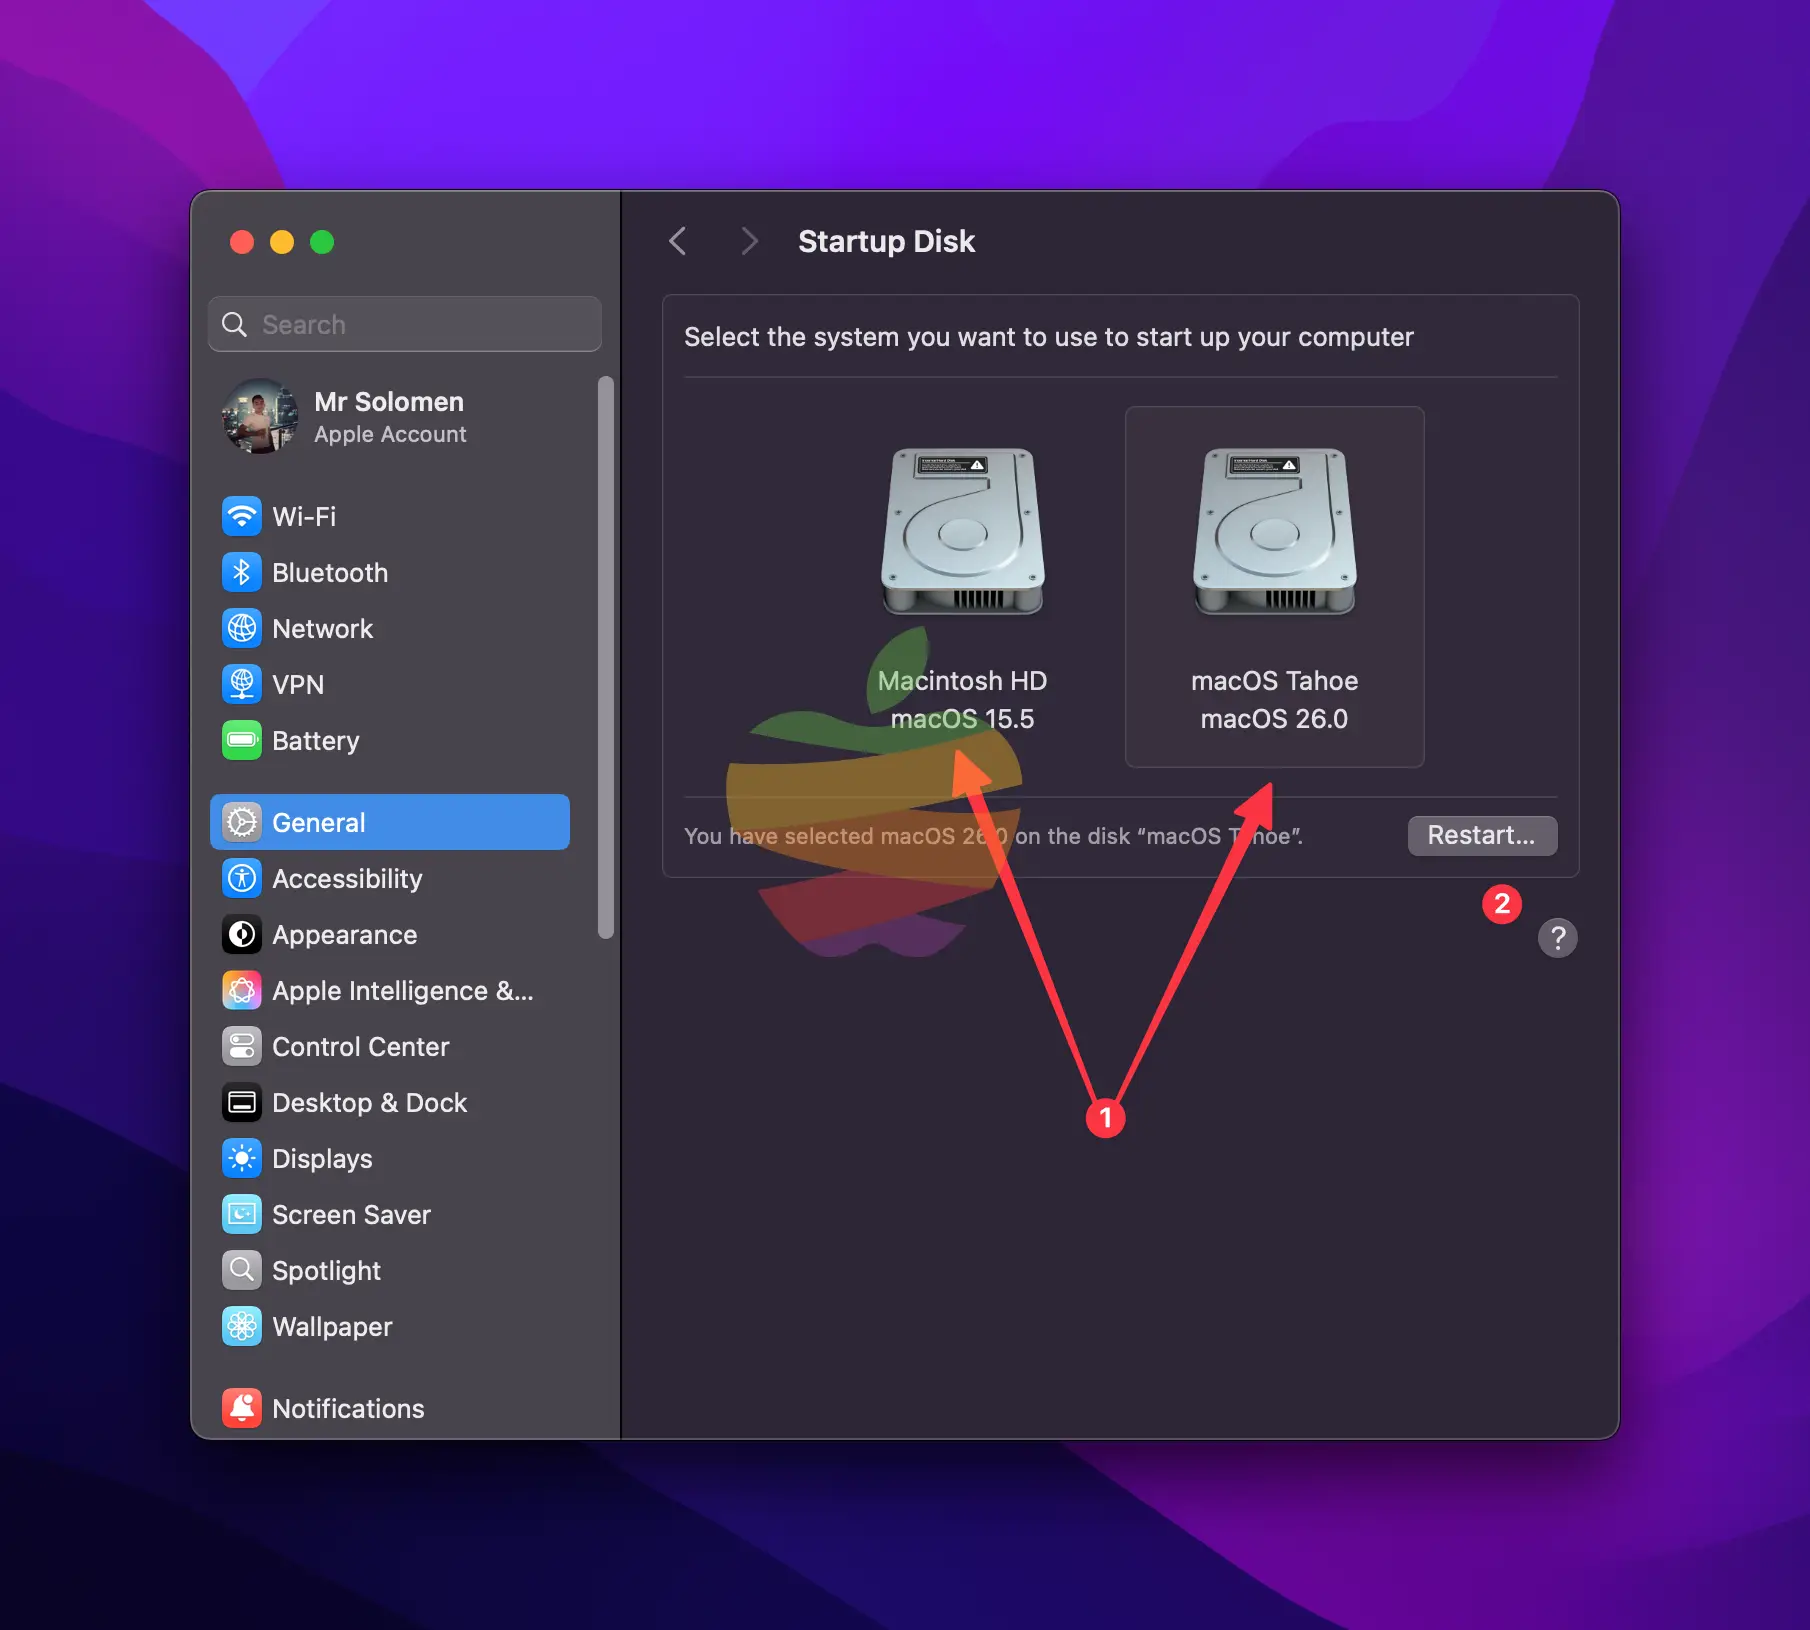
- Open the Apple Menu and go to System Settings.
- Navigate to General > Startup Disk.
- Select the new macOS Tahoe volume as the startup disk.
- Click Restart to boot from macOS Tahoe.
Your Mac will reboot into macOS Tahoe, allowing you to explore its new features while keeping your previous macOS installation.
Step 5: Switch Between macOS Versions
Once the dual-boot setup is complete, you can easily switch between macOS Tahoe and your other macOS version at any time. Follow these steps to boot your Mac from the second macOS version:
Step 1: Turn off your Mac (whether it’s Intel or Apple Silicon).
Step 2: For Intel Macs, press and hold the Option key while turning it on.

For Apple Silicon Macs, press and hold the Power button until you see the “Loading startup options” screen.

Step 3: From the available options, select the volume or partition where the second macOS version is installed.
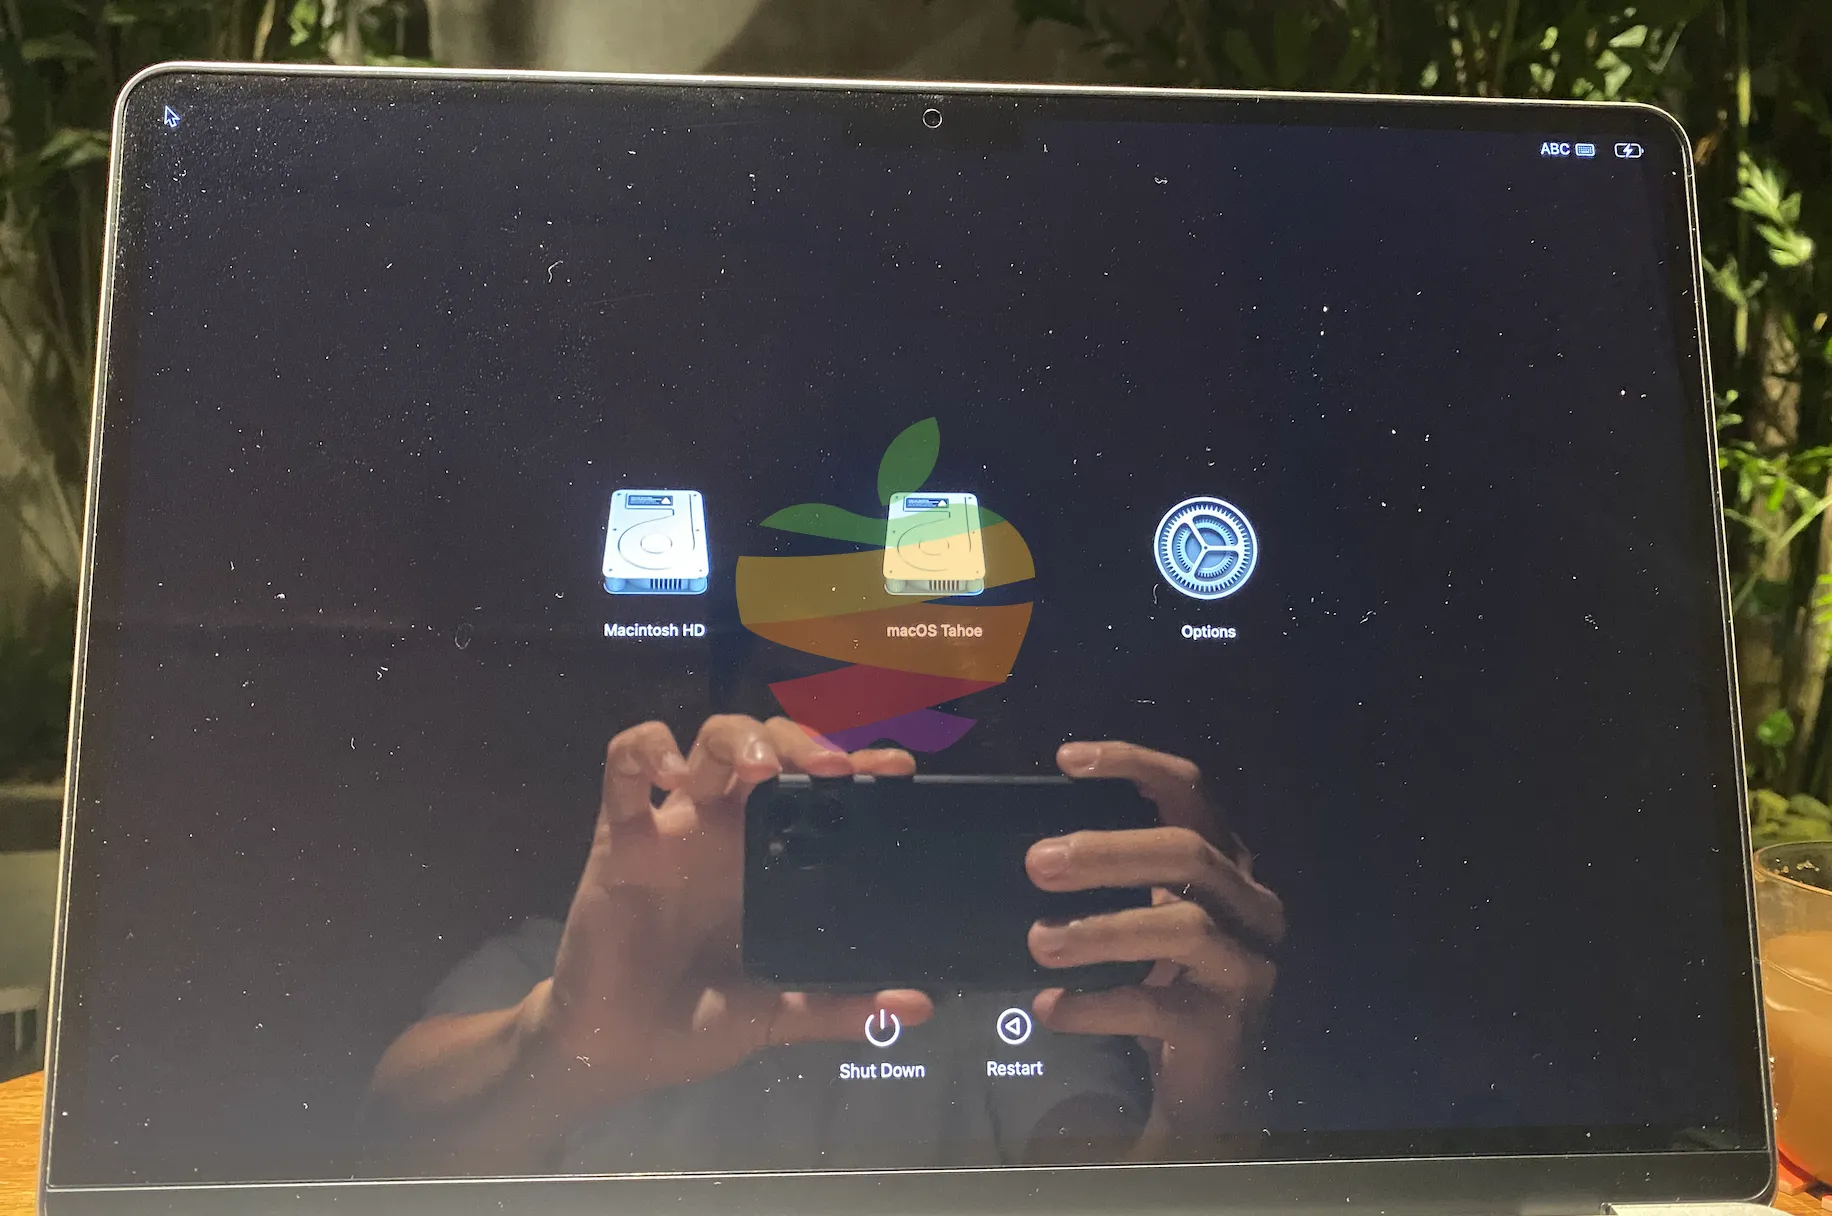
Step 4: Click the the Continue button and your Mac will now boot from the selected macOS version.
Conclusion
Setting up dual booting for two versions of macOS (Tahoe and Sequoia) on your MacBook allows you to experience both stable and beta releases simultaneously.
By following the steps outlined in this guide, you can easily set up your Mac for dual-booting. Remember to back up your MacBook first to ensure your data is safe throughout the process.